Whether you're scouting deer, monitoring wildlife, or protecting remote property, a trail camera is one of the most valuable tools you can own. But nothing is more frustrating than checking your SD card and discovering that your trail camera captured little or nothing at all.
If your trail camera is not taking pictures, don't worry—you are not alone. Many hunters and outdoor enthusiasts experience issues ranging from dead batteries and faulty SD cards to incorrect settings and sensor problems.
This guide explains the most common reasons why a trail camera stops taking photos and provides practical solutions to get your camera back to capturing wildlife activity.
Why Is My Trail Camera Not Taking Pictures?
Most trail camera issues can be traced to one of five categories:
- Battery problems
- SD card issues
- Incorrect camera settings
- PIR motion sensor failures
- Poor camera placement
Fortunately, most of these problems are easy to diagnose and fix.
1. Dead or Weak Batteries
The number one reason a trail camera stops taking pictures is insufficient battery power.
Even if the camera powers on, weak batteries may not provide enough energy to trigger image capture, night vision LEDs, or video recording.
Signs of Battery Problems
- Camera turns on but captures no images
- Night photos stop recording
- Slow trigger speed
- Random shutdowns
How to Fix It
- Replace all batteries with fresh AA lithium batteries.
- Avoid mixing old and new batteries.
- Check battery contacts for corrosion.
- Clean terminals if necessary.
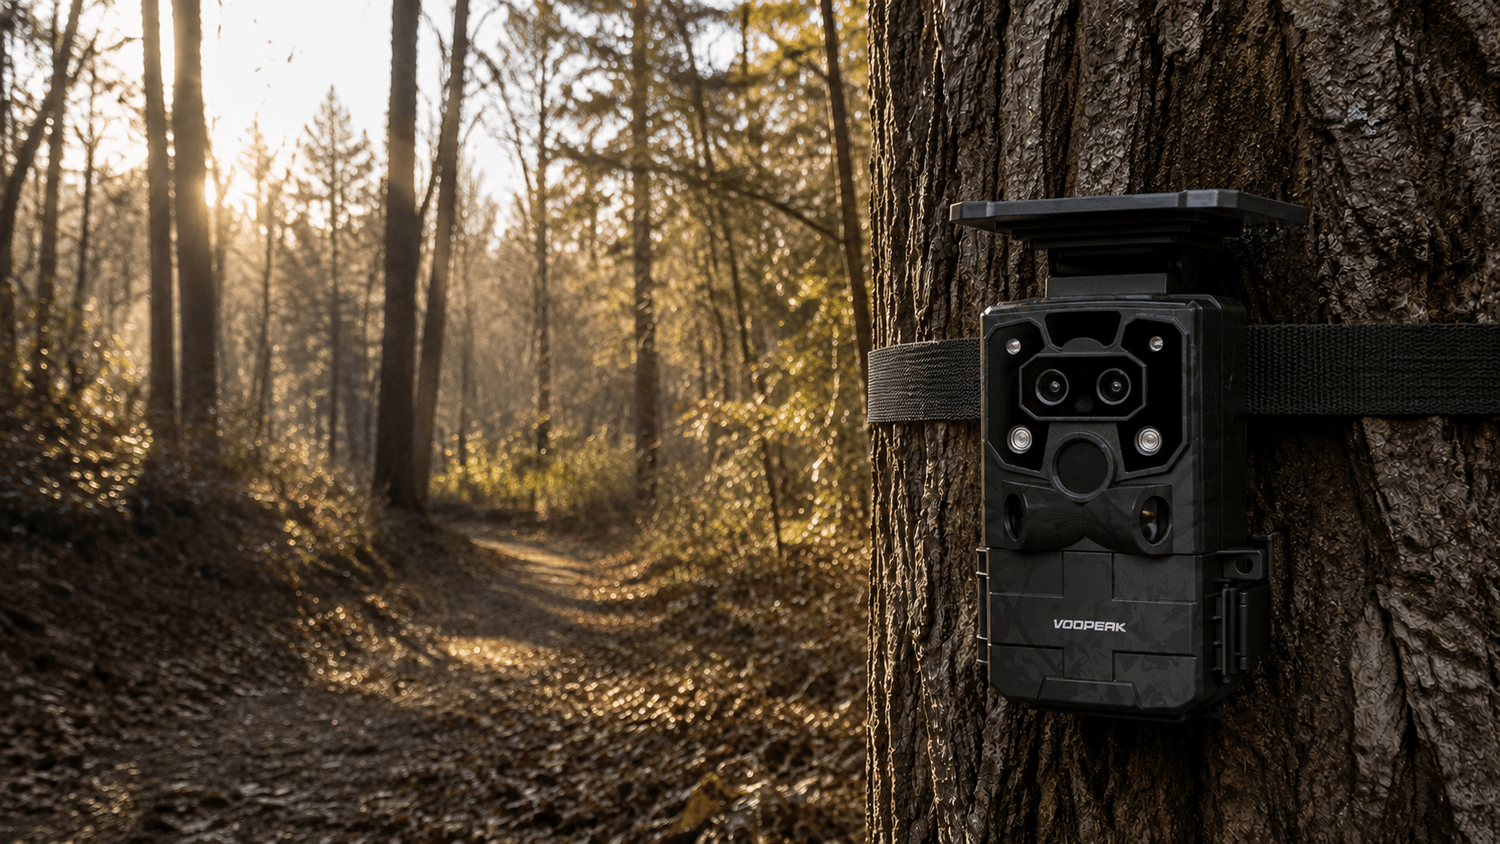
For long-term deployment, consider a solar-powered trail camera like the Voopeak TC37 or TC32 to maintain consistent power in the field.

2. SD Card Problems
A faulty or incompatible SD card is another common reason a trail camera won't save photos.
Many users install a card without formatting it properly, leading to recording errors.
Common SD Card Issues
- Card is full
- Card is locked
- Unsupported card type
- Corrupted file system
How to Fix It
- Remove the SD card.
- Format it inside the camera.
- Use a Class 10 SD card from a reliable brand.
- Check the maximum storage capacity supported by your camera.
For best performance, Voopeak trail cameras generally work best with high-quality SD cards formatted directly in the camera.
3. Incorrect Camera Settings
Sometimes the camera is functioning perfectly, but the settings prevent image capture.
Settings to Check
Motion Sensitivity
If sensitivity is set too low, animals may pass through the detection zone without triggering the camera.
Capture Mode
Verify whether the camera is configured for:
- Photo Mode
- Video Mode
- Photo + Video Mode
Trigger Interval
A long trigger delay can make it appear as though the camera isn't working.
For example:
- 30-second interval
- 1-minute interval
- 5-minute interval
may cause many animals to go unrecorded.
Recommended Settings
For deer scouting:
- Sensitivity: High
- Trigger Speed: Fast
- Delay: 5-10 seconds
- Burst Mode: 2-3 photos

4. PIR Motion Sensor Issues
Trail cameras rely on Passive Infrared (PIR) sensors to detect heat and movement.
If the PIR sensor isn't detecting animals correctly, the camera won't trigger.
Common Causes
- Sensor blocked by dirt
- Spider webs covering the lens
- Mud or debris buildup
- Sensor damage
Solution
Inspect and clean:
- PIR sensor window
- Camera lens
- Infrared LED area
Use a microfiber cloth and avoid scratching the sensor surface.
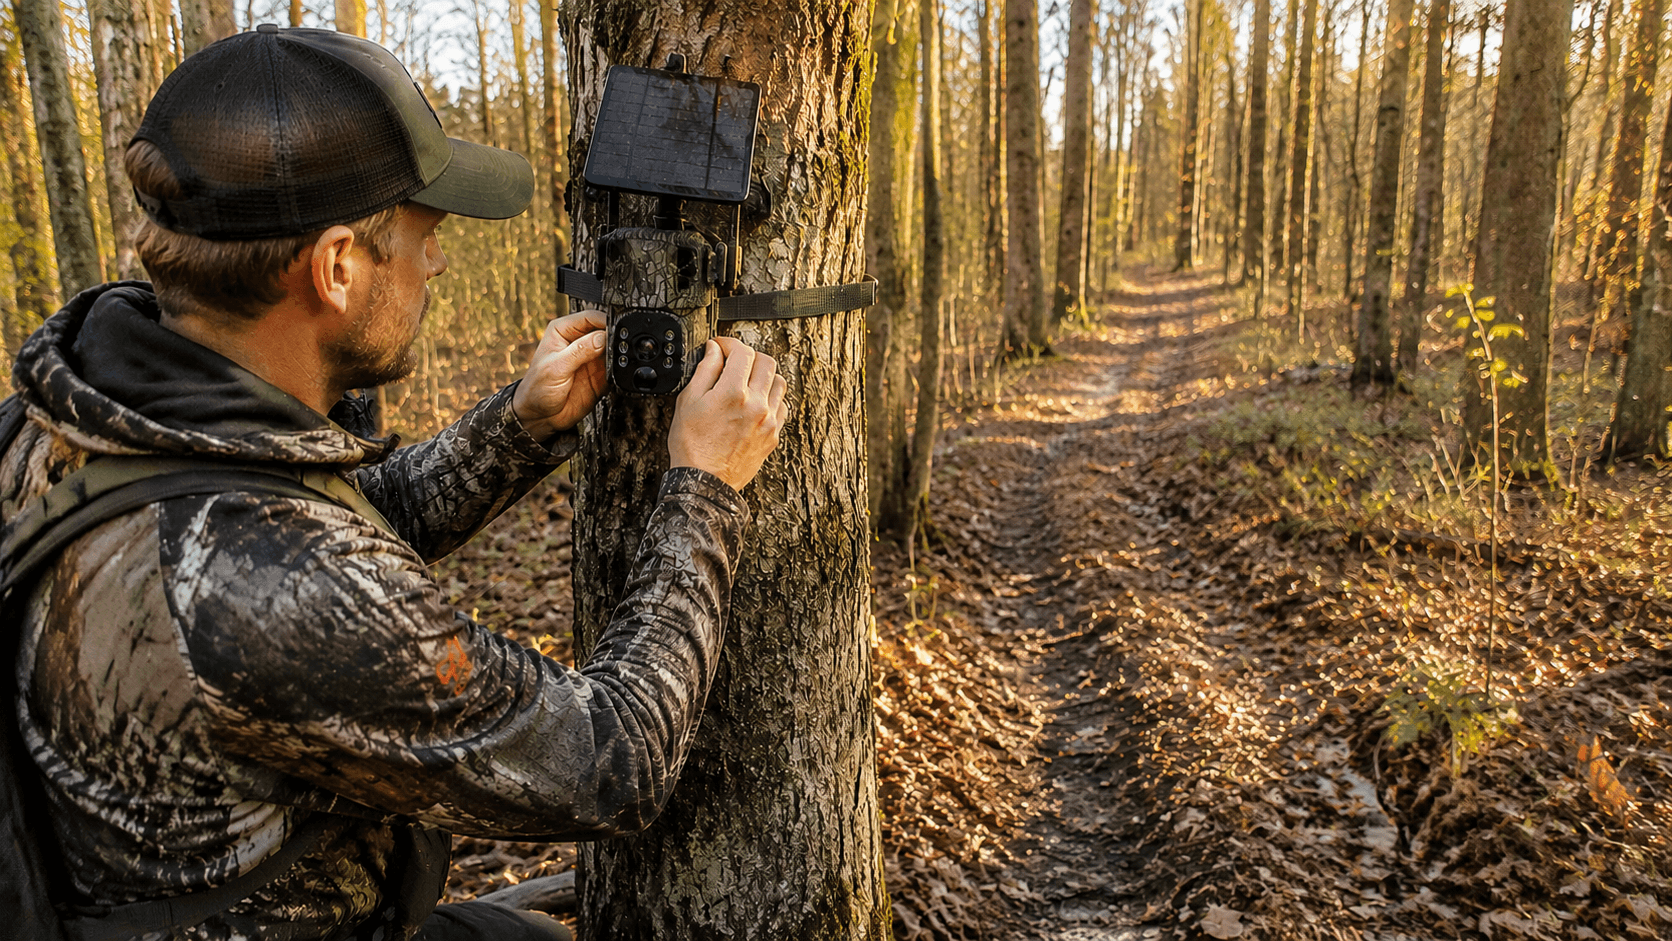
5. Poor Camera Placement
Even the best trail camera cannot capture animals that never enter the detection zone.
Common Placement Mistakes
- Camera pointed too high
- Camera pointed too low
- Facing direct sunlight
- Mounted too far from trails
Best Placement Tips
For deer:
- Height: 3-4 feet above ground
- Distance: 15-25 feet from target area
- Angle: Slightly downward
Position the camera near:
- Game trails
- Feeding areas
- Water sources
- Travel corridors

6. False Triggers Filling the SD Card
Many users think their trail camera isn't working when the memory card is actually full of empty images.
Common Causes
- Moving branches
- Tall grass
- Direct sunlight
- Heat reflections
Fix
Clear vegetation within the detection area.
Avoid pointing the camera toward:
- Rising sun
- Setting sun
- Reflective water surfaces
7. Night Vision Problems
If daytime photos work but nighttime photos don't, the issue is often related to infrared illumination.
Check For
- Weak batteries
- Dirty infrared LEDs
- Night mode disabled
Night vision consumes significantly more power than daytime operation.
Using lithium batteries often improves night performance.

8. Weather Damage
Long-term outdoor exposure can affect any trail camera.
Inspect For
- Water intrusion
- Cracked housing
- Damaged seals
- Corrosion
Prevention
Choose weather-resistant models with strong IP ratings and inspect the housing regularly.
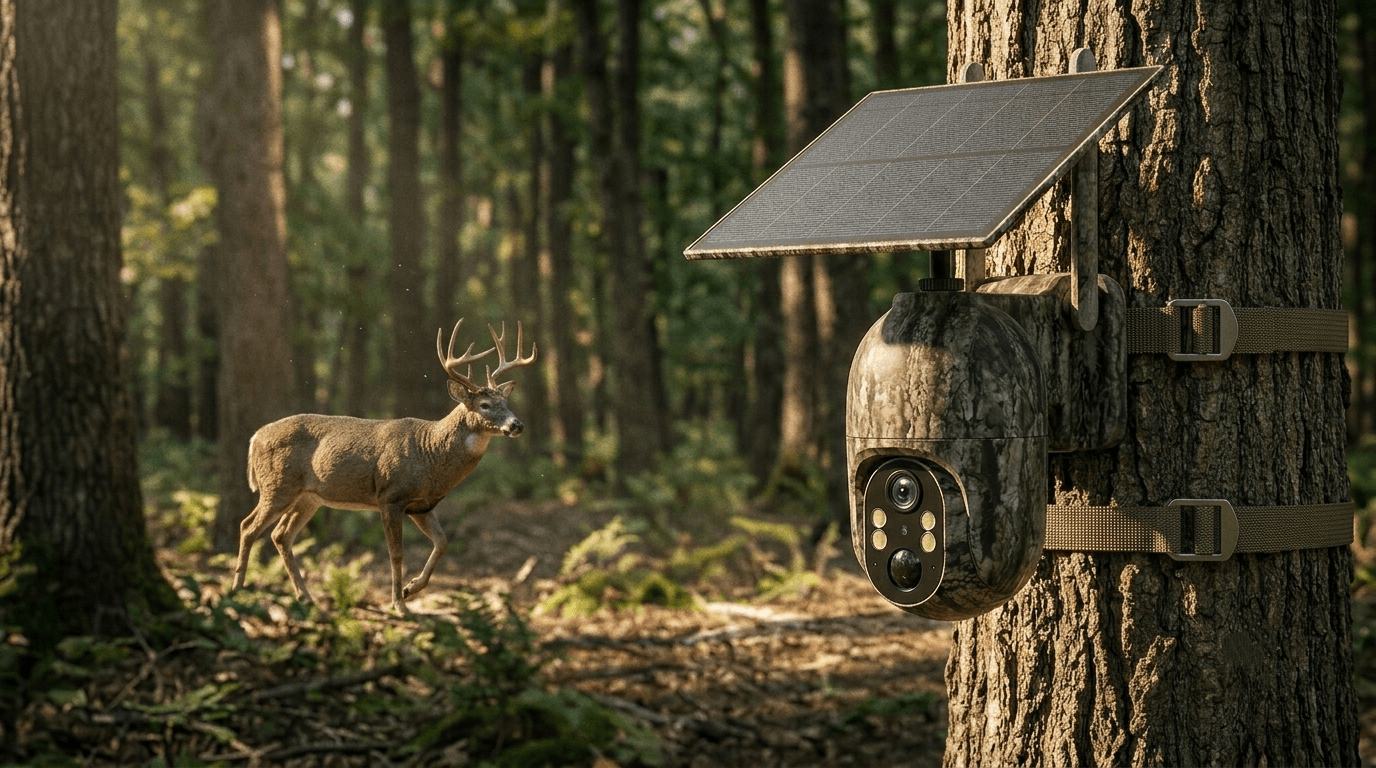
Modern Voopeak trail cameras are designed to withstand harsh outdoor environments, including rain, snow, dust, and extreme temperatures.
9. Firmware Problems
Outdated firmware can occasionally cause:
- Freezing
- SD card errors
- Trigger failures
- Connectivity issues
Visit the Voopeak support page periodically to check for firmware updates.
Updating firmware can improve performance and compatibility.
When Should You Replace Your Trail Camera?
If you've tried:
✅ New batteries
✅ New SD card
✅ Factory reset
✅ Sensor cleaning
✅ Proper placement
and the camera still fails to capture images consistently, hardware failure may be the cause.
Older cameras may experience sensor degradation after years of exposure to weather and extreme temperatures.
Why Many Hunters Choose Voopeak Trail Cameras
Reliable performance starts with quality hardware.
Popular Voopeak models offer:
- 4K video recording
- 60MP image resolution
- Fast trigger speeds
- Blacklight night vision
- WiFi connectivity
- 4G cellular transmission
- Solar charging options
- AI wildlife detection
Models such as the TC22, TC27, TC32, and TC37 are designed to help hunters capture more wildlife activity with fewer missed triggers.
Final Thoughts
If your trail camera is not taking pictures, the problem is usually easier to fix than you might think. In most cases, the issue comes down to batteries, SD cards, camera settings, motion sensors, or improper placement.
By systematically checking each potential problem, you can quickly restore your camera's performance and avoid missing valuable wildlife activity.
Whether you're monitoring deer movement, scouting hunting locations, or securing remote property, a properly configured trail camera will provide the reliable images you need.
For the best results, choose a dependable model, maintain it regularly, and test your setup before leaving it in the field.
FAQ
Why is my trail camera not taking pictures?
The most common causes include dead batteries, full or corrupted SD cards, incorrect settings, blocked PIR sensors, and poor camera placement.
Why does my trail camera take blank pictures?
Blank images are often caused by moving vegetation, heat waves, direct sunlight, or false motion triggers.
How do I reset a trail camera?
Most trail cameras include a factory reset option in the settings menu. Refer to your user manual for exact instructions.
How often should I check my trail camera?
For wildlife scouting, checking every 2–4 weeks minimizes disturbance while ensuring proper operation.
What is the best sensitivity setting for deer?
High sensitivity is generally recommended for deer trails and feeding areas, especially during active movement periods.
Can a bad SD card stop a trail camera from taking pictures?
Yes. Corrupted, full, locked, or incompatible SD cards are among the most common trail camera issues.
Leave a comment
This site is protected by hCaptcha and the hCaptcha Privacy Policy and Terms of Service apply.