Keywords: Hunting Camera, Trail camera,Setup Guide, Wildlife
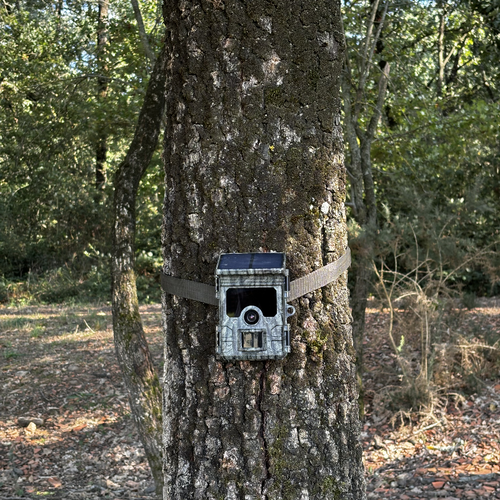
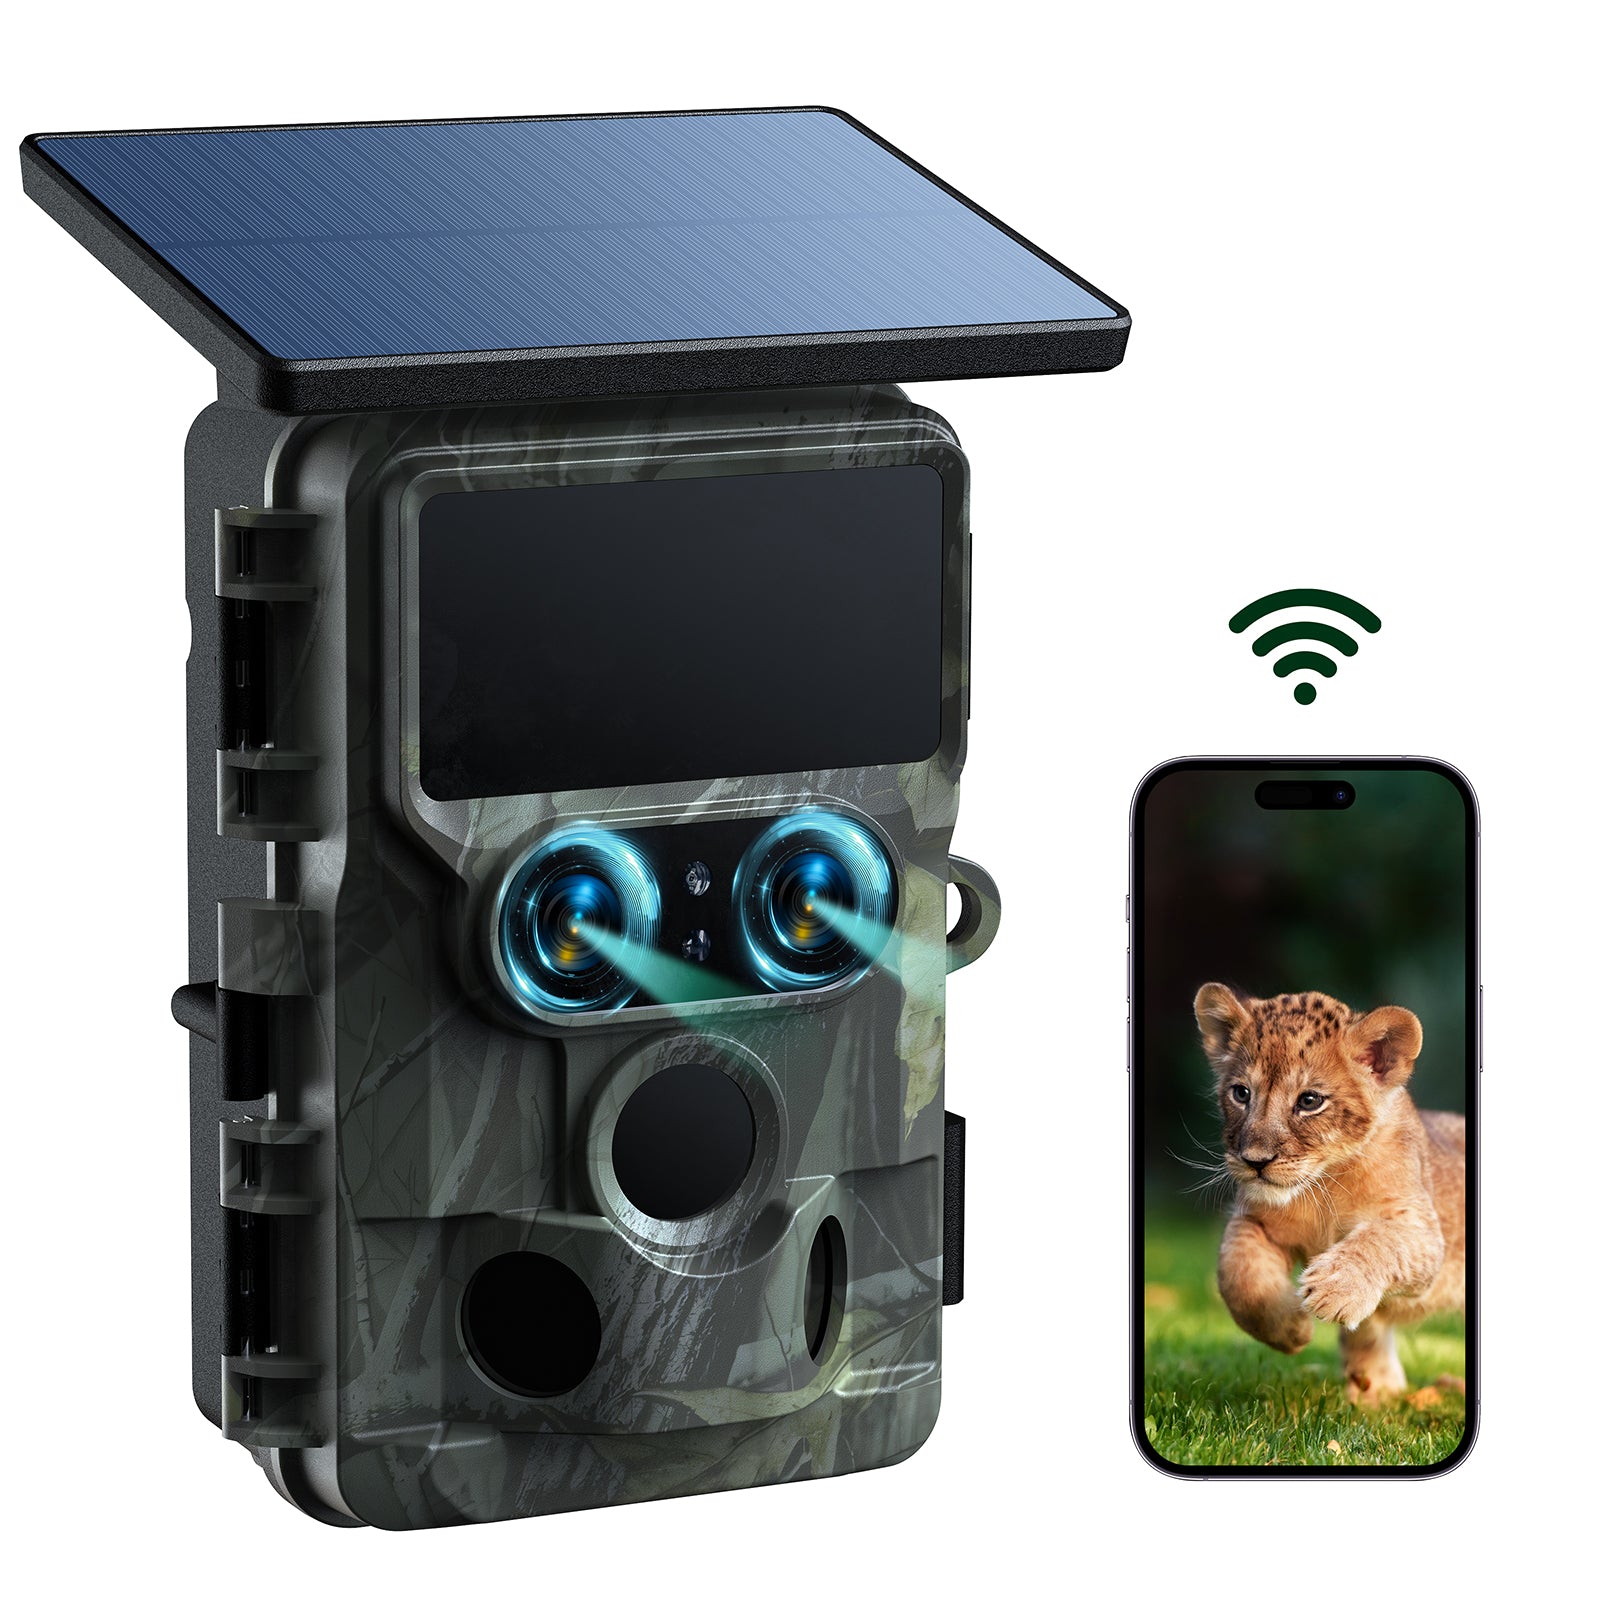
This WiFi hunting camera from Voopeak is very popular among hunting enthusiasts and animal observers. Next, I will introduce how to set up this hunting camera.
First of all, in terms of batteries, the camera can be placed with batteries or charged directly through solar panels. This can be selected according to the frequency of use. If it is triggered frequently, you can choose to install some batteries, so that it may be smoother to use the camera. Then put an SD card in and the camera can start working. (The camera is not included)
The camera has three buttons. All the way to the left is to turn it off, in the middle is the setting, and you need to adjust the camera in this place. It will activate the camera completely to the right. From the beginning, it will tell us which language to choose. Users can choose the language they are familiar with. Next is to enter the date and time. After setting the time, you need to format the SD card. After formatting, the data in the SD card will be deleted.
In the camera's shooting mode, you can choose to take only photos or videos or photos and videos, and then the interval of recording. By default, the camera will be activated again every 30 seconds, that is, if an animal is detected passing in front, the shooting will exceed 30 seconds. Users can also adjust the sensitivity according to their own use. High sensitivity will not miss any clues, while low sensitivity will trigger less. If you choose to record in a loop, the oldest video will be automatically updated when the camera records everything.
Next we will move on to the configuration of photos. It is best to choose the highest configuration, that is, 46 megapixels, which can take 10 photos at a time. Users can test it themselves and adjust the shutter speed according to the quality of the image.
We can also set the video part. The resolution is 4K by default, 30 images, which is the best resolution, so you can default to the resolution of this video. The duration of the video can also be set according to personal preferences and needs.
In addition, you can also set the automatic extension function. If an animal stays in front of the camera, but the shooting time is reached, the camera will not stop shooting, but will extend the shooting until the animal leaves the camera's monitoring range.
After completing all the settings, we can see the button part. Adjust it to the on mode, the camera will be activated, and the display will not show images from this time. At the same time, when the camera is automatically triggered, you can also take photos manually through the APP.
You can also give your camera a unique name and set an activation password on the application to prevent others from using the camera.
This is how the camera is set up and used. I hope this installation guide can help you. Thank you for reading!


Leave a comment
This site is protected by hCaptcha and the hCaptcha Privacy Policy and Terms of Service apply.