Preparing a trail camera for the season involves a few steps to ensure that the camera is functioning correctly and ready to capture images or videos of wildlife.
Here are some steps to follow:
Inspect the camera: Check for any physical damage or wear and tear. Make sure the battery compartment, memory card slot, and other openings are clean and free of debris.
Check batteries: Insert fresh batteries into the camera, preferably high-quality ones with a long lifespan. Make sure the battery contacts are clean and free of corrosion.
Format memory card: Insert a formatted memory card into the camera. Formatting the card will erase any previous data and prepare it for use.
Test the camera: Turn the camera on and test it by taking a few photos or videos. Make sure that the camera is functioning correctly and capturing clear images.
Set up the camera: Decide on the location where you want to place the camera and set it up accordingly. Ensure that the camera is level and pointing in the right direction.
Adjust settings: Depending on the type of wildlife you want to capture, adjust the camera's settings such as the trigger speed, detection range, and sensitivity.
Secure the camera: Secure the camera to a tree or other sturdy object using straps or other accessories. Make sure the camera is in a safe and secure location.
Check the camera regularly: Check the camera regularly to make sure that it is still working correctly and capturing clear images. Change the batteries and memory card as needed.
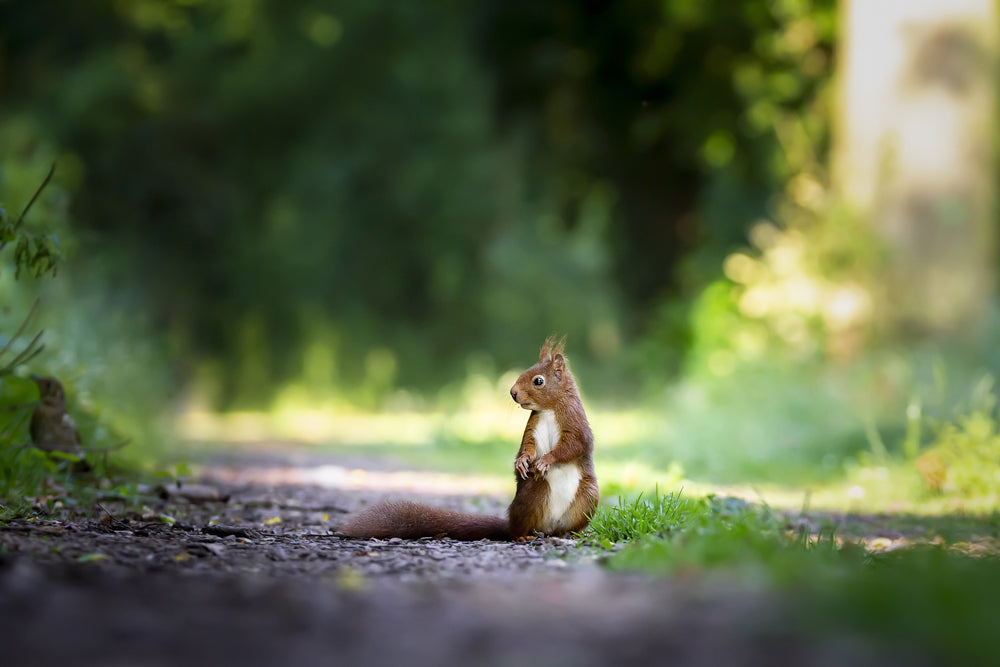
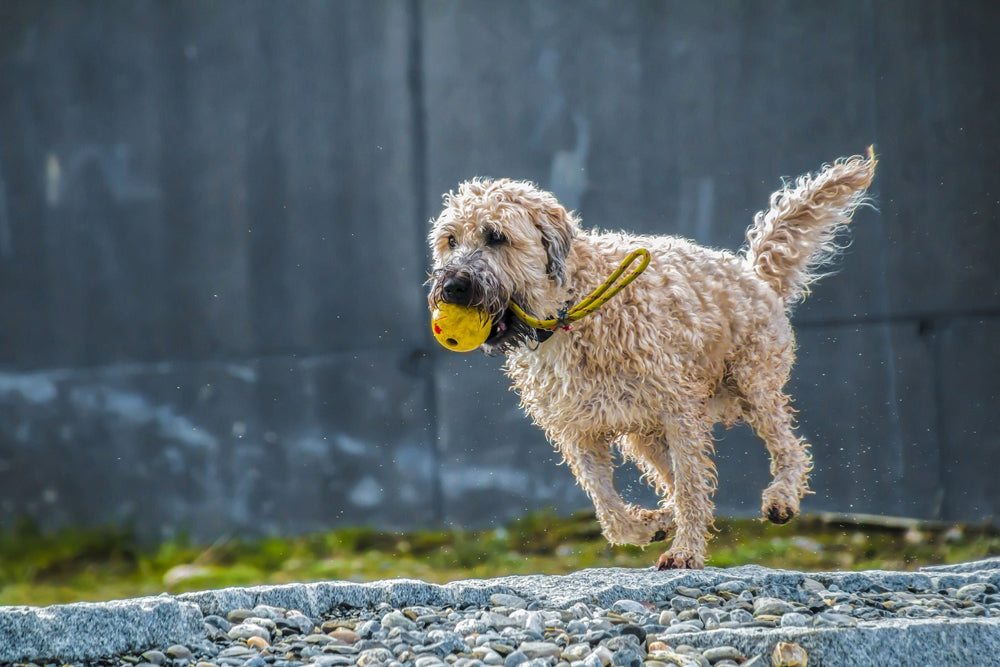
By following these steps, you can ensure that your trail camera is ready to capture images and videos of wildlife throughout the season. However, knowing where to mount a trail camera is critical for ensuring that you capture clear and accurate images.
Here are some tips on where to mount a trail camera
Near Water Sources: Animals tend to congregate around water sources like streams, ponds, and rivers. Placing your trail camera near these areas will increase the chances of capturing images of wildlife.
Game Trails: Game trails are paths that animals frequently use when traveling to and from feeding and watering areas. Mounting your trail camera along these trails will give you a good chance of capturing images of animals as they pass by.
Clearings and Open Spaces: Animals often use open spaces and clearings as feeding and resting areas. Placing your trail camera in these areas will give you a better chance of capturing images of animals as they move around.
High Traffic Areas: Look for areas that have a lot of animal activity, such as where two or more trails converge, or near a food source like a berry bush or fruit tree.
Avoid Direct Sunlight: Direct sunlight can cause glare and wash out images. Look for areas with some shade or position the camera so that it is facing away from the sun.
Mount the Camera at the Right Height: Mounting the camera too low or too high can affect the quality of the images. Ideally, you want to mount the camera at a height that is eye-level with the animals you want to capture.
Secure the Camera: Make sure to secure the camera to a tree or other sturdy object using straps or other accessories. Also, make sure that the camera is in a safe location where it won't be easily spotted or stolen.
In conclusion, the placement of a trail camera can be the difference between capturing clear and accurate images or missing out on the action altogether. By following these tips, you can increase your chances of capturing images and videos of wildlife in their natural habitat. Remember to always be respectful of the animals and their environment and follow any laws and regulations in your area regarding the use of trail cameras.
Leave a comment
This site is protected by hCaptcha and the hCaptcha Privacy Policy and Terms of Service apply.