
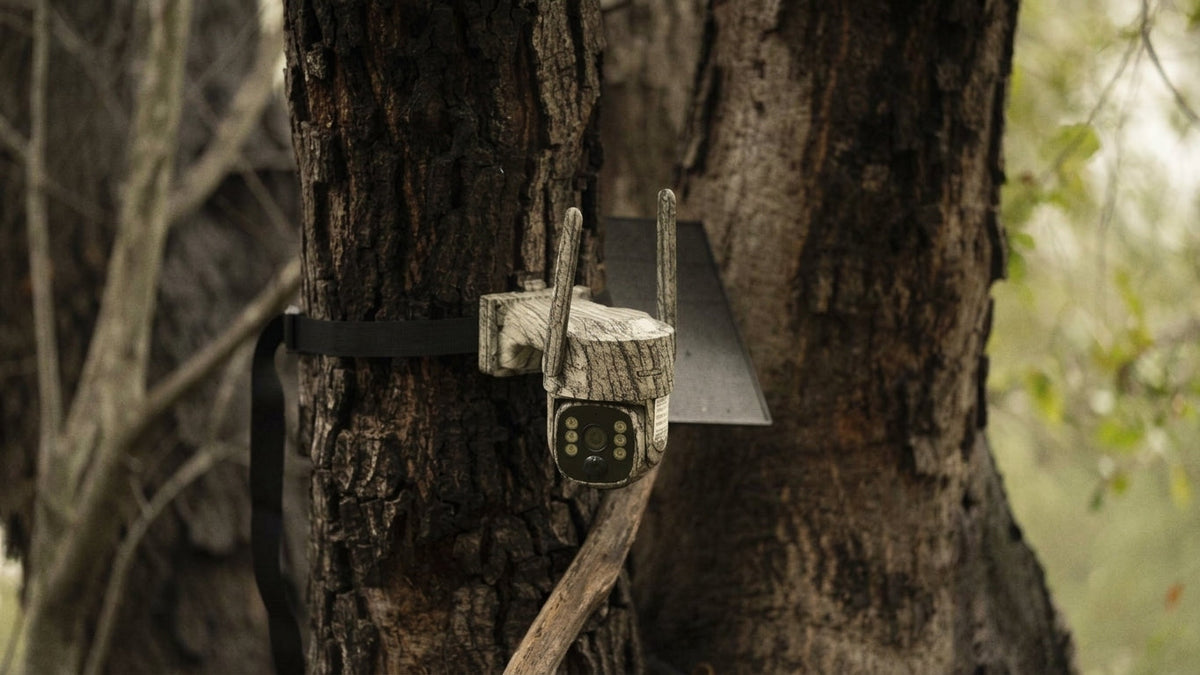
Finding the right location for your trail camera can make all the difference when scouting whitetail deer. Even the most advanced 4K trail camera won't capture useful footage if it's pointed at an area deer rarely visit.
Whether you're tracking mature bucks, studying deer movement patterns, preparing for hunting season, or monitoring wildlife on your property, strategic trail camera placement is essential.
So, where should you put a trail camera for deer?
The best locations include active deer trails, food plot entrances, natural funnels, creek crossings, water sources, rub lines, scrapes, bedding area edges, ridge saddles, and staging areas. These locations take advantage of natural deer movement and help hunters collect more meaningful photos and videos.
In this guide, we'll explore 10 proven trail camera locations, explain how to choose the right setup, and share practical tips to help you get better results from your deer scouting cameras.
Quick Answer: Where Is the Best Place to Put a Trail Camera for Deer?
The best place to put a trail camera for deer is somewhere deer naturally travel between bedding areas, feeding grounds, and water sources.
Start with these high-potential locations:
- Active deer trails and trail intersections
- Food plot entrances and agricultural field edges
- Natural funnels and pinch points
- Creek crossings and narrow stream passages
- Water sources and pond access points
- Active scrapes and rub lines
- Oak flats and natural feeding areas
- Bedding area boundaries
- Ridge saddles and terrain crossings
- Staging areas near feeding grounds
Look for fresh tracks, droppings, rubs, scrapes, and disturbed vegetation before choosing a location. These signs help confirm that deer are regularly using the area.

10 Best Places to Put a Trail Camera for Deer
1. Active Deer Trails
An active deer trail is one of the most reliable places to install a trail camera.
Deer regularly use established paths to move between feeding areas, bedding cover, and water. These trails are often easy to identify through hoofprints, flattened grass, disturbed leaves, and narrow openings through vegetation.
Look for trails with fresh tracks and multiple signs of repeated deer activity.
Placement tip: Mount your camera slightly off the trail and aim it across the path at approximately a 45-degree angle. This gives the camera a better opportunity to capture deer moving through its detection zone.
Avoid pointing directly down a long trail, as deer may move through the detection area too quickly.

2. Food Plot Entrances and Field Edges
Food sources are major influences on deer movement, especially during the summer and early fall.
Agricultural fields, soybean plots, clover fields, cornfields, and natural feeding areas can attract deer throughout the year.
However, placing your camera in the middle of an open field isn't always the best strategy.
Instead, focus on the entrances deer use when moving between woodland cover and feeding grounds.
Inside field corners and narrow openings are particularly useful because they can concentrate movement into smaller areas.
Placement tip: Position your trail camera near a frequently used field entrance. Capture both the edge of the feeding area and the path deer use to approach it.
3. Natural Funnels and Pinch Points
Natural funnels are among the best trail camera locations for hunters looking to understand deer travel patterns.
A funnel is an area where terrain, vegetation, or other obstacles naturally restrict animal movement.
Common examples include:
- Narrow strips of woodland between open fields
- Gaps between thick vegetation
- Creek-bottom corridors
- Fence openings
- Draws and narrow valleys
- Hillside benches
Deer often choose the easiest available route when navigating difficult terrain. This makes natural pinch points valuable locations for monitoring movement.
Placement tip: Look for several trails converging into one narrow passage. Mount your camera where it can monitor the main travel route without being blocked by branches or tall grass.
4. Creek Crossings and Stream Passages
Creek crossings can reveal predictable deer movement, particularly when water or terrain limits the available crossing points.
Look for muddy banks, hoofprints, worn paths, and openings in vegetation along streams.
These signs can help you identify where deer regularly enter and leave the water.
A narrow crossing is often more productive than monitoring a long stretch of riverbank because it concentrates movement into a smaller detection area.
Placement tip: Mount your camera on a stable tree near the crossing, with a clear view of the approach. Avoid pointing directly into reflective water, which can create difficult lighting conditions.

5. Ponds, Springs, and Water Sources
Water is another important factor when deciding where to place a deer trail camera.
During hot summer weather and dry periods, deer may regularly visit ponds, springs, creeks, and other reliable water sources.
Instead of pointing your camera directly at the center of a pond, identify the natural access points deer use to reach the water.
Look for muddy ground, tracks, trampled grass, and narrow paths leading toward the shoreline.
Placement tip: Position the camera along a shaded approach or frequently used access trail. This can help capture deer entering and leaving the water while reducing unwanted background glare.
6. Deer Scrapes and Rub Lines
If you're scouting whitetail deer during the pre-rut and rut, scrapes and rub lines deserve special attention.
A deer scrape is an area where bucks paw away leaves and vegetation, often leaving scent through urination. Scrapes are commonly associated with territorial communication and deer activity.
Rub lines are another useful sign. Bucks create rubs by rubbing their antlers against tree trunks and branches.
These locations can provide valuable information about buck activity, especially when combined with nearby travel routes.
Placement tip: Look for fresh scrapes with overhanging licking branches. Position your camera to monitor the scrape without placing it directly in the deer's normal walking path.
Remember that scrape activity changes throughout the season, so check your images to determine whether a location remains productive.
7. Oak Flats and Natural Feeding Areas
Oak flats can be excellent trail camera locations during the fall.
Acorns are an important natural food source for whitetail deer, and areas with productive oak trees may attract regular deer activity when acorns are available.
Look for fresh hoofprints, disturbed leaves, and feeding signs beneath oak trees.
You can also monitor areas with naturally occurring browse, fruit trees, berry bushes, and other seasonal food sources.
Placement tip: Rather than placing your camera randomly beneath a tree, identify the paths deer use to enter and leave the feeding area. Focus on these transition points to capture more consistent movement.
8. The Edges of Bedding Areas
Bedding areas are where deer rest and seek protection from disturbance.
These areas often contain thick vegetation, young forest growth, tall grass, and sheltered terrain.
Monitoring bedding areas can help hunters understand where deer spend their daylight hours and how they move toward feeding locations.
However, this is also one of the locations where camera placement requires extra care.
Repeatedly walking into bedding cover can disturb deer and change their normal movement patterns.
Placement tip: Install your camera along the outer edge of suspected bedding cover rather than deep inside it.
A cellular trail camera can be particularly useful here because it allows compatible models to transmit photos remotely, reducing the need to revisit sensitive locations to retrieve an SD card.
9. Ridge Saddles and Terrain Crossings
Don't overlook the influence of terrain when selecting trail camera locations.
A ridge saddle is a lower section between two higher points of a ridge. Deer may use these natural passages to travel between different parts of their habitat.
Other useful terrain features include:
- Hillside benches
- Natural drainage corridors
- Narrow valleys
- Woodland transitions
- Elevated travel routes
These areas can become predictable movement corridors, particularly where dense vegetation or steep terrain limits alternative routes.
Placement tip: Use a topographic map to identify potential crossings, then visit the area to look for fresh deer sign before mounting your camera.
10. Staging Areas Near Feeding Grounds
A staging area is a transition zone where deer gather or move through before entering an open feeding area.
These locations can be especially useful when you want to understand daylight deer activity.
Some deer may approach feeding grounds cautiously, spending time in nearby cover before moving into open fields.
Instead of placing your camera directly in the feeding area, monitor the wooded edge or travel corridor leading toward it.
Placement tip: Look for trails, tracks, and disturbed vegetation approximately 50–100 yards from a feeding area as an initial scouting range. Adjust based on local terrain and actual deer activity.
How to Set Up a Trail Camera for Better Deer Photos

Finding a productive location is only half the job. Correct camera installation also affects the quality of your images and videos.
Choose the Right Mounting Height
For deer, approximately 3–4 feet above the ground is a useful starting point.
This generally provides a good angle for capturing the animal's full body.
However, adjust the height according to terrain, vegetation, and the direction of deer movement.
Pay Attention to Camera Direction
Direct sunlight can cause glare, overexposure, and unwanted triggers.
Whenever possible, avoid pointing your camera directly east or west. North- or south-facing setups can help reduce direct sunrise and sunset glare, depending on the surrounding landscape.
Clear the Detection Zone
Branches, tall grass, and moving vegetation can trigger unnecessary photos.
Before leaving, inspect the area directly in front of the camera. Remove obstructions that interfere with the sensor or block the camera's field of view.
Consider Wind and Human Scent
Deer have a strong sense of smell. Avoid unnecessary disturbance when installing or checking your cameras.
Choose accessible routes that minimize walking through sensitive bedding areas, and consider wind direction when selecting a setup.
Use Remote Monitoring When Possible
Traditional trail cameras often require you to visit the location to retrieve an SD card.
A cellular trail camera offers a different approach by sending compatible photos to your phone through a cellular network.
This can be especially helpful when monitoring remote hunting properties or sensitive deer movement corridors.
Which Voopeak Trail Camera Is Best for Deer Scouting?
Choosing the right trail camera depends on your hunting property, network availability, power requirements, and monitoring preferences.
Voopeak offers different trail camera options for different scouting needs.
Voopeak TC22 WiFi Trail Camera
The Voopeak TC22 is a practical option for hunters who want high-resolution wildlife photos and videos.
With 4K video and 60MP image capability, it is designed for capturing detailed wildlife activity.
Its built-in WiFi hotspot allows users to connect to the camera nearby through a compatible phone. Keep in mind that WiFi operation requires you to be within the camera's connection range.
It is a suitable choice for monitoring accessible hunting properties, woodland trails, and feeding areas.
Voopeak TC32 4G Solar Trail Camera
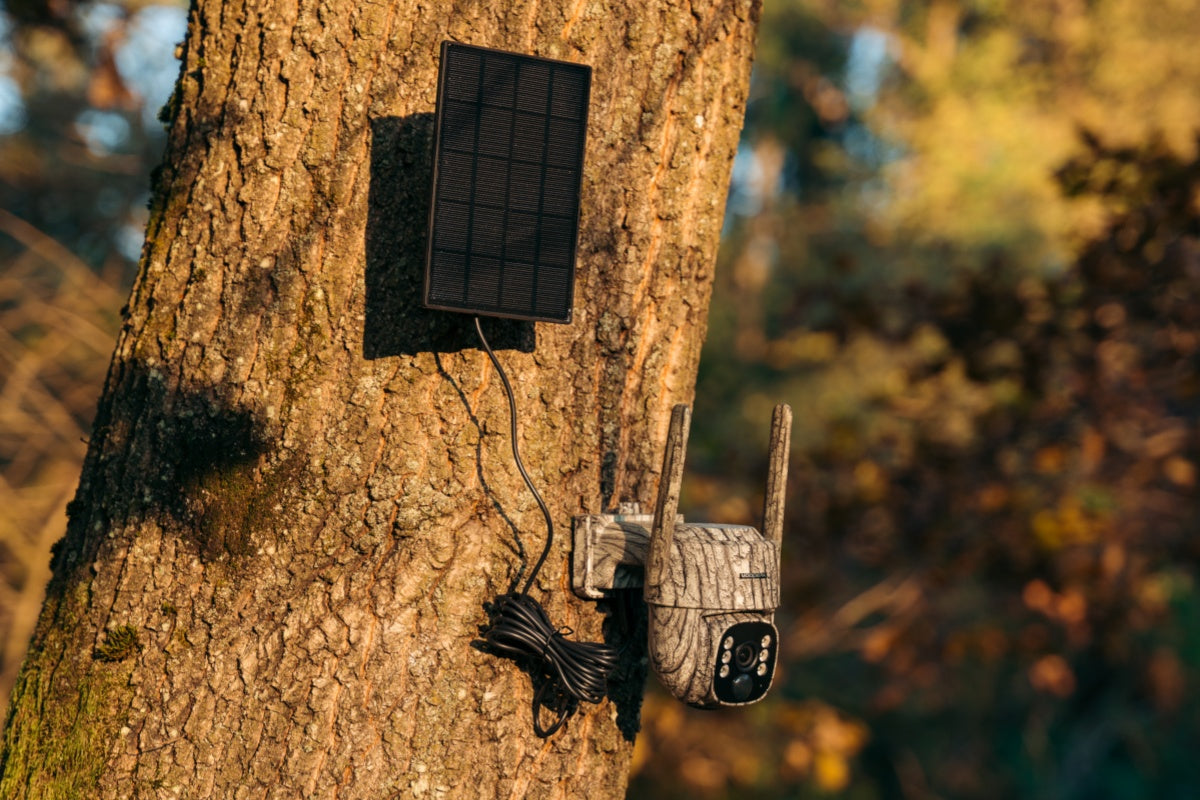
For remote locations, the Voopeak TC32 offers 4G cellular connectivity and solar-powered operation.
It is designed for hunters who want to monitor wildlife without regularly visiting the camera to retrieve an SD card.
With cellular connectivity and solar charging support, it can be a convenient option for monitoring distant trails, water sources, and less accessible hunting areas.
Make sure cellular coverage and an active data plan are available at your chosen location before installation.
Explore the Voopeak trail camera collection to find a model that matches your scouting needs.
FAQ About Deer Trail Camera Placement
Where is the best place to put a trail camera for whitetail deer?
The best locations include active deer trails, field entrances, natural funnels, creek crossings, water sources, and scrape lines. Look for fresh tracks and repeated deer activity before choosing a camera location.
How high should a trail camera be mounted for deer?
A height of approximately 3–4 feet above the ground is a good starting point for photographing deer. Adjust the height according to the terrain, camera angle, and target area.
Should a trail camera face north or south?
North- or south-facing setups are often preferred because they reduce direct sunlight entering the lens during sunrise and sunset. However, surrounding trees and terrain should also influence your camera direction.
How far should a trail camera be from a deer trail?
Start by placing your camera approximately 10–20 feet from the trail, then test the detection zone and image framing. The ideal distance depends on the camera's detection range, lens coverage, and surrounding vegetation.
Are cellular trail cameras worth it for deer hunting?
Yes. Cellular trail cameras can send photos remotely, helping hunters monitor deer activity without repeatedly visiting the camera location. They are especially useful for remote properties and sensitive scouting areas, provided cellular coverage is available.
How often should you check trail cameras?
It depends on your camera type and scouting goals. Traditional SD card cameras require physical visits, while cellular models can provide remote updates. Minimize unnecessary visits, especially near bedding areas.
Final Thoughts: Put Your Trail Camera Where Deer Naturally Travel
Successful deer scouting starts with understanding deer behavior.
The best trail camera location isn't necessarily the most attractive-looking spot in the woods. It's the place where deer naturally travel, feed, drink, and interact with their environment.
Start with active trails, field entrances, natural funnels, and water sources. Then expand your scouting strategy to scrapes, bedding area edges, ridge saddles, and staging areas.
Pay attention to camera height, sunlight, wind direction, and detection coverage. Most importantly, review your images regularly to understand how deer movement changes throughout the season.
With thoughtful placement and the right Voopeak trail camera, you can spend less time guessing and more time learning what is happening on your hunting property.

Leave a comment
This site is protected by hCaptcha and the hCaptcha Privacy Policy and Terms of Service apply.