Introduction
If you're not getting the results you expected from your trail camera, the issue is rarely the device—it’s usually placement strategy.
Understanding where to place your trail camera for best results is the key to capturing clear images, tracking wildlife patterns, and improving hunting success.
In this complete guide, you’ll learn:
- The best trail camera locations for consistent results
- Advanced placement strategies used by experienced hunters
- How to optimize performance with modern cellular trail cameras and solar trail cameras
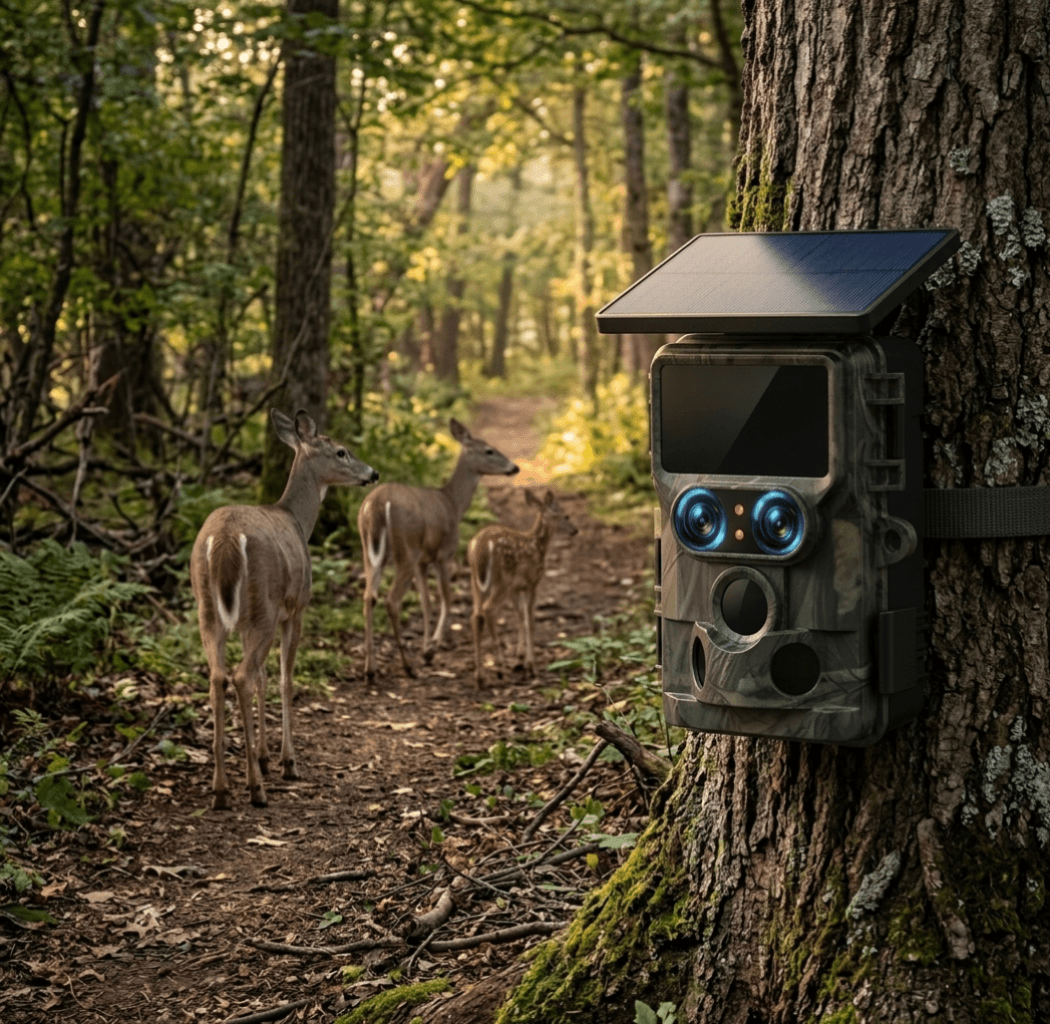
1. Game Trails: The #1 Spot for Trail Camera Placement

Game trails are the most reliable and productive locations for trail cameras.
These natural paths are used repeatedly by animals moving between feeding and bedding areas.
How to Identify a Game Trail:
- Visible dirt paths or flattened grass
- Animal footprints and droppings
- Broken branches or disturbed vegetation
Placement Tips:
- Position your camera parallel to the trail, not perpendicular
- Mount at about 3–4 feet high
- Keep a slight downward angle
👉 This setup increases detection time and improves image clarity.
2. Water Sources: High-Traffic Wildlife Zones

Water is essential for all wildlife, making it one of the most consistent hotspots.
Best Locations:
- Natural ponds
- Streams and rivers
- Seasonal waterholes
Pro Placement Strategy:
- Place the camera 10–20 feet away
- Avoid pointing directly at reflective water surfaces
- Set up on a shaded side to reduce glare
👉 Wildlife tends to linger near water, increasing your chances of capturing longer video clips.
3. Food Sources and Feeding Areas

Food sources naturally attract animals on a regular schedule.
Common Feeding Areas:
- Acorn-rich forests
- Agricultural fields
- Food plots and bait stations
Optimization Tips:
- Place camera at an angle for wider coverage
- Avoid placing too close (prevents overexposure)
- Monitor wind direction to reduce scent detection
👉 Feeding areas are ideal for identifying daily movement patterns.
4. Funnels and Pinch Points: Predictable Movement Zones

Funnels are natural bottlenecks that force animals into a narrow path.
Examples:
- Between two hills or ridges
- Fence openings
- River or creek crossings
Why They Work:
Animals prefer paths of least resistance, making their movement predictable.
👉 This is one of the best strategies for hunting trail camera placement.
5. Bedding Areas: Advanced Strategy for Experienced Users

Bedding areas are where animals rest during the day.
Characteristics:
- Dense cover
- Quiet, shaded environments
- Located downwind of feeding zones
⚠️ Important:
Avoid frequent visits to prevent disturbing wildlife.
👉 Best used for low-impact monitoring with cellular trail cameras.
6. Best Height and Angle for Trail Cameras

Ideal Height:
- 3–4 feet for deer and medium animals
- 5–6 feet for security monitoring
Best Angle:
- Slight downward tilt
- Face north or south
- Avoid sunrise/sunset alignment
👉 Proper positioning improves detection accuracy and image quality.
7. Common Trail Camera Mistakes (And How to Fix Them)

Mistakes to Avoid:
❌ Facing direct sunlight
❌ Mounting too low or too high
❌ Ignoring moving vegetation
❌ Placing camera too close
Quick Fixes:
✔ Face north/south
✔ Clear branches in front
✔ Adjust sensitivity settings
8. Advanced Tips to Maximize Trail Camera Performance

Use Cellular Trail Cameras
- Real-time image transmission
- Reduced human disturbance
- Remote monitoring capability
Choose Solar-Powered Cameras
- Continuous operation
- Ideal for long-term setups
- Lower maintenance
Adjust Motion Sensitivity
- High sensitivity → low activity areas
- Low sensitivity → dense environments
Use Multiple Cameras
- Cover more angles
- Track movement patterns
- Increase success rate
👉 Shop Voopeak Trail Cameras
Looking for reliable performance in real outdoor conditions?
Voopeak trail cameras offer:
- Ultra HD image and video quality
- Fast trigger speed
- 4G LTE connectivity
- Solar-powered options
- Durable weatherproof design
👉 Shop Now and Upgrade Your Trail Camera Setup Today
Conclusion
To get the best results, focus on placing your trail camera in:
- Game trails
- Water sources
- Feeding areas
- Funnels and pinch points
Combine these strategies with proper height, angle, and advanced features like cellular connectivity and solar power, and you’ll dramatically improve your results.
FAQ
Q1: Where is the best place to put a trail camera?
A: Game trails, water sources, and funnels are the most effective locations.
Q2: How high should a trail camera be?
A: Typically 3–4 feet for deer-sized animals.
Q3: What direction should a trail camera face?
A: North or south to avoid sun glare.
Q4: Are cellular trail cameras worth it?
A: Yes, especially for remote monitoring and reducing disturbance.


Hinterlasse einen Kommentar
Diese Website ist durch hCaptcha geschützt und es gelten die allgemeinen Geschäftsbedingungen und Datenschutzbestimmungen von hCaptcha.