Keywords: hunting cameras, hunting camera installation, hunting camera usage tips, 2024 Hunting Camera Guide
How to Optimize the Installation and Use of Hunting Cameras: A Guide to Avoiding Common Mistakes
1. Introduction
2. How to choose the best installation location for hunting cameras?
3. Avoid the most common hunting camera setup mistakes
3.1 Improper resolution settings
3.2 Optimizing settings for shooting interval and continuous shooting mode
3.3 Correct sensitivity settings for motion sensing
4. Correct debugging of night vision and infrared functions
5. How to extend the battery life of hunting cameras
5.1 Use high-performance batteries
5.2 Use solar panels
5.3 Reduce invalid triggers
6. How to check and maintain hunting cameras after installation
7. How to adjust the camera according to the environment?
How to Optimize the Installation and Use of Hunting Cameras: A Guide to Avoiding Common Mistakes
1. Introduction
Hunting cameras are not only used for hunting or monitoring wildlife, but also an important tool for monitoring the environment. However, many users often make mistakes during installation and use, resulting in unsatisfactory images, battery consumption, or loss of critical data. Next, we will explore how to avoid these common mistakes and help you maximize the role of hunting cameras.
2. How to choose the best installation location for hunting cameras?
Whether it is hunting or monitoring wild animals in the wild, the correct installation location is crucial. First, you need to understand the behavior of wild animals. For example, some animals have fixed paths to find food or water. Usually, animal footprints or traces can be observed in areas such as mud and grass to determine the routes that animals often appear. Choosing areas near these paths can increase the chances of capturing clear pictures.In order to capture the best angle of the animal, it is recommended to install the camera at a height of about 1-2 meters from the ground. For smaller animals, you may need to adjust the angle slightly to ensure that the camera's shooting range is aimed at the animal's head or body. At the same time, backlight and strong light need to be avoided. Users need to point the hunting camera in the direction of the animal's activities and ensure that the camera is not directly facing the sunrise or sunset to prevent overexposure.

3. Avoid the most common hunting camera setting errors
Many users often ignore some key settings when setting up hunting cameras, resulting in shooting results that do not meet their requirements. Here are some common errors and how to solve them.
3.1 Improper resolution setting
For users who need high-quality photos, it is recommended to set the camera's resolution to the highest level, which is generally available in standard definition and high definition. However, if you need to monitor for a long time and do not want to frequently change the memory card, appropriately reducing the resolution can extend the shooting time.3.2 Shooting interval and continuous shooting mode
Setting a too short shooting interval may cause the camera to take many low-quality photos, which will greatly consume the battery and waste memory card space. We recommend that you can set a reasonable interval time according to the environment, such as 15 seconds or 30 seconds. If there are frequent animal activities in the monitoring area, the continuous shooting mode can help capture key moments, but pay attention to battery consumption.3.3 Motion sensing sensitivity setting
Hunting cameras rely on motion sensing to trigger shooting. If the trigger sensitivity is set to a high level, then any random movement may trigger shooting, which will also waste battery and storage space. On the contrary, setting the sensitivity too low may miss the wonderful moments of animals. You can adjust to the best sensitivity for your monitoring area through several tests.
4. Correct debugging of night vision and infrared functions
The infrared and night vision functions of hunting cameras are key to capturing nighttime activities. However, many people find that night photos are either too dark or too bright, resulting in overexposure and inability to see details. Here are some tips to optimize night photography:First, you can set the infrared light. The intensity and range of the infrared light will affect the effect of night photography. Users need to ensure that the intensity of the camera's infrared light is moderate to avoid overexposure. At the same time, the range of the infrared light is limited, so the camera should be as close to the set shooting area as possible.
Second, you can let the camera avoid close obstacles as much as possible. If the infrared light is reflected too close to the camera, the photo may appear overexposed. Therefore, it is necessary to keep the area in front of the camera as open and unobstructed as possible to ensure that the light of the infrared light can be evenly distributed.

5. How to extend the battery life of hunting cameras
Generally, hunting cameras are monitored in the wild for a long time, so battery life is particularly important for hunting cameras. In order to extend the battery life, here are some practical suggestions:
5.1 Use high-performance batteries
Users can choose high-quality lithium batteries or rechargeable batteries. Their service life is usually longer than ordinary alkaline batteries, especially in extreme temperature environments, lithium batteries perform more stably.5.2 Use solar panels
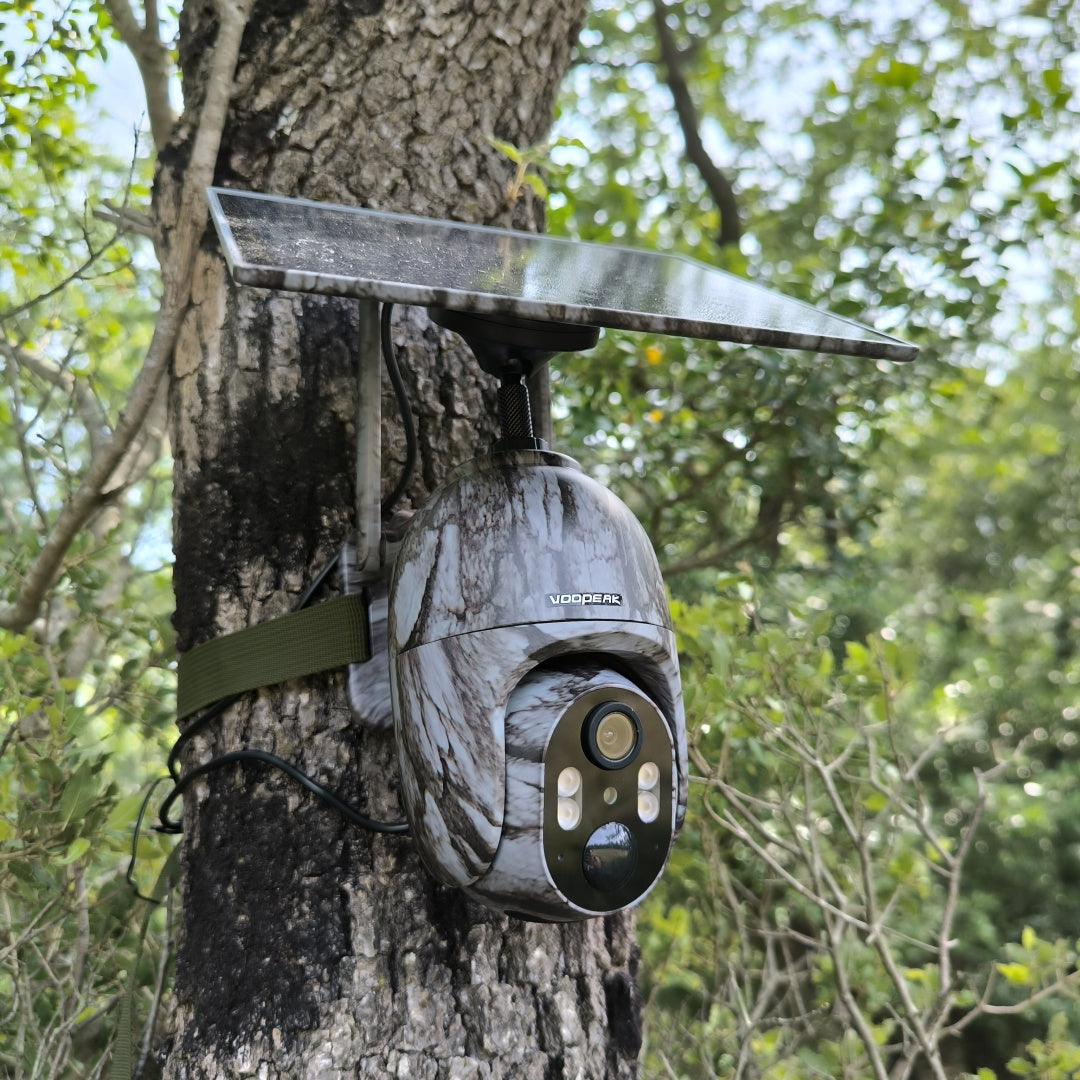
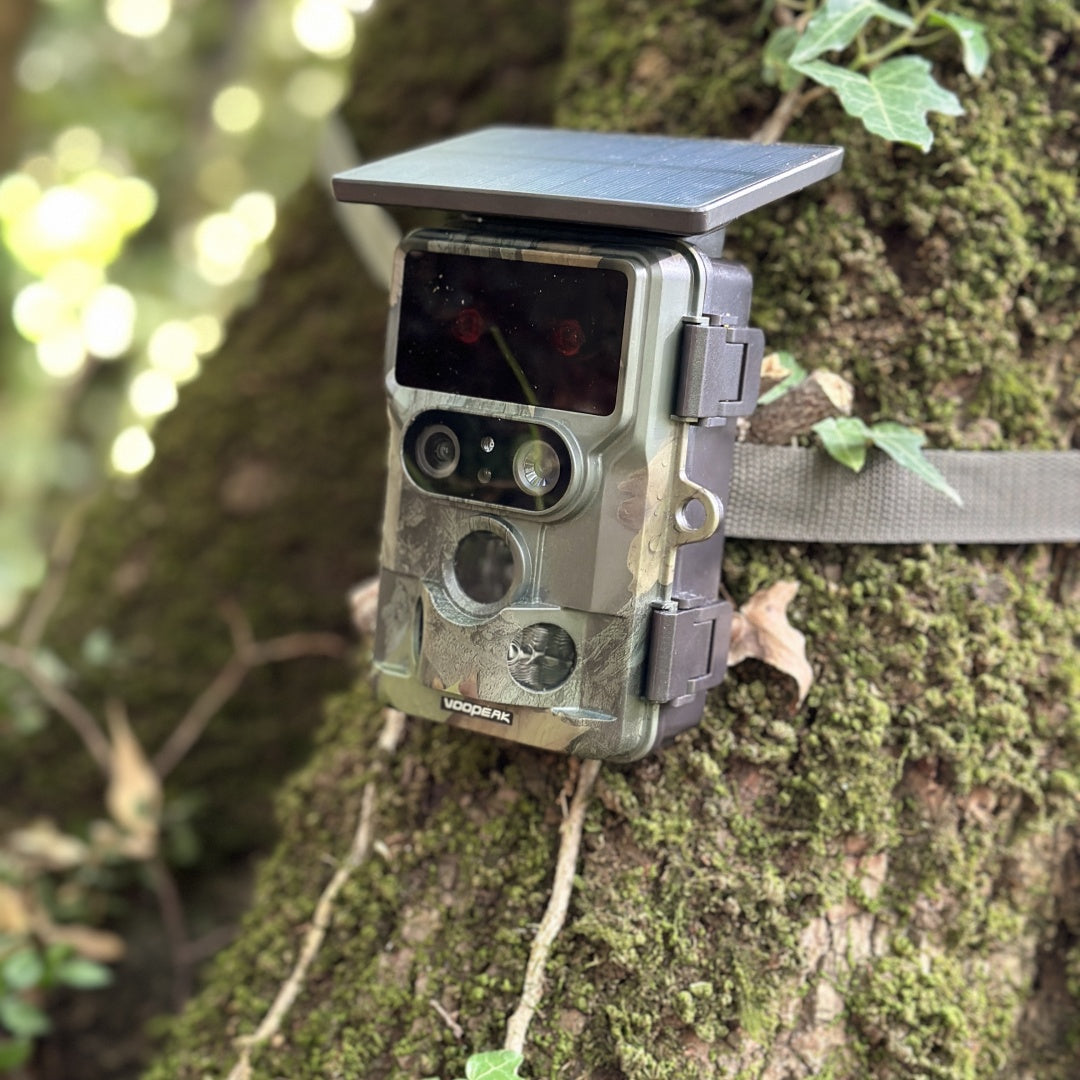
Many hunting cameras on the market now support solar power, which is a very cost-effective and environmentally friendly technology. Installing solar panels on hunting cameras can not only reduce the frequency of battery replacement, but also ensure that the camera can run continuously for a long time. When the battery is large enough, it can even achieve long-term uninterrupted power and continuous work.5.3 Reduce invalid triggers
Every time a hunting camera is triggered to take a photo or shoot a video, it consumes power. Users can adjust the camera's motion sensing settings and shooting intervals to avoid frequent triggering of the camera in invalid situations. This can not only save batteries but also effectively save storage space.
6. How to check and maintain the hunting camera after installation
After the hunting camera is installed, it is essential to regularly check and maintain it to ensure that the camera works properly and avoid malfunctions.In the case of long-term use, the location of the camera should be checked every few weeks to see if it has been damaged or moved by wild animals. The battery power and memory card space should also be paid attention to, so as to ensure that the camera is working effectively.
If you encounter extreme weather, although most hunting cameras now have waterproof and dustproof functions, you can install an additional waterproof shell or umbrella-shaped protective cover for the camera to be on the safe side. This method can help the camera resist rain, snow and strong winds.
7. How to adjust the camera according to the environment?
In different environments, hunting cameras will have different installation methods. When users want to install the camera in the forest, due to the dense trees, the motion sensing of the hunting camera may require higher sensitivity. The place where the camera is placed needs to ensure that there are no branches or shrubs blocking the lens, otherwise it will be difficult for the camera to take the desired picture, and it may even affect the focus.When the camera is placed in a relatively open area such as grassland, because the animal's range of action is wide, but the shooting range of the hunting camera is limited, the user should install the camera in a higher position to expand the field of view to capture the desired picture.
There is also a mountain environment. Due to the complex mountain terrain, users need to avoid shooting too much sky, so they need to install the camera in a stable place and choose a suitable angle. You can try several angles to find the most satisfactory shooting range.

Leave a comment
This site is protected by hCaptcha and the hCaptcha Privacy Policy and Terms of Service apply.