
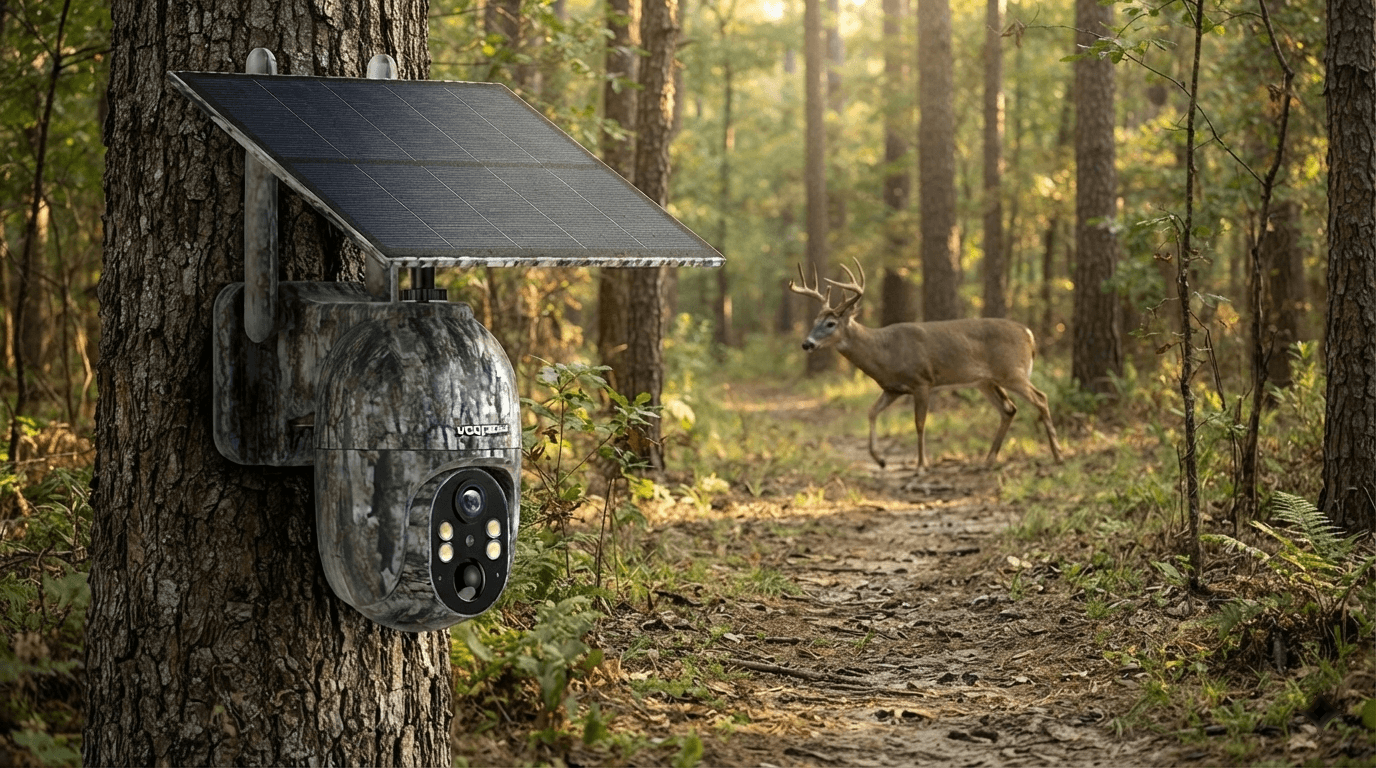
If you're wondering where to place a trail camera, the answer is simple: put it where wildlife already wants to go.
Even the best trail camera can produce hundreds of empty photos if it is pointed at the wrong location. On the other hand, a carefully positioned wildlife camera can reveal deer movement, foxes, raccoons, turkeys, and other animals with surprisingly consistent results.
The secret to better trail camera photos isn't only resolution, trigger speed, or night vision. It is understanding animal behavior and combining that knowledge with the right trail camera placement.
Whether you're scouting deer, monitoring wildlife on private property, or simply interested in wildlife photography, these 10 proven trail camera placement tips can help you capture more animals and better images.
Why Does Trail Camera Placement Matter?
A trail camera works best when animals naturally pass through its detection zone.
Wildlife tends to follow predictable routes between bedding areas, feeding locations, water sources, and cover. Game trails, creek crossings, food plot edges, fence gaps, and natural funnels can therefore be much more productive than randomly choosing a tree.
Proper placement can help you:
- Capture more wildlife photos
- Reduce empty images
- Improve animal framing
- Reduce false triggers
- Capture animals for longer as they move through the frame
- Better understand deer and wildlife movement
- Reduce unnecessary trips into your scouting area
In other words, where you put your trail camera can matter just as much as which trail camera you buy.
1. Place Your Trail Camera on an Active Game Trail
One of the best places to put a trail camera is along an active game trail.
Look for signs that animals are actually using the route:
- Fresh tracks
- Droppings
- Flattened grass
- Broken vegetation
- Rubs and scrapes
- Narrow paths through thick cover
- Multiple trails joining together
For deer hunting, a trail connecting bedding cover with food or water can be especially productive.
Instead of pointing the camera directly across the trail, try positioning it at an angle so the animal moves through the detection zone rather than appearing and disappearing instantly.
This gives the camera more time to detect the animal and can produce better full-body images.

2. Look for Natural Funnels and Pinch Points
Animals naturally choose paths that require less effort.
That makes funnels and pinch points excellent trail camera locations.
A funnel is an area where terrain, vegetation, water, fencing, or other obstacles compress animal movement into a smaller passage.
Good examples include:
- Creek crossings
- Gaps in fences
- Narrow openings between fields and woods
- Saddles between ridges
- Benches on hillsides
- Narrow strips of cover
- Trails between two obstacles
If several trails appear to merge into one narrow route, that's a strong candidate for your hunting camera setup.
A camera positioned at a natural funnel can monitor multiple travel routes without requiring multiple cameras.
3. Put Your Camera Near Water Sources
Water is one of the most reliable wildlife attractants.
Ponds, streams, springs, creek crossings, and small water holes can all become productive wildlife camera locations, particularly during hot or dry periods.
But don't automatically point your camera directly at the middle of a pond.
Instead, look for the places animals use to approach and leave the water.
Watch for:
- Muddy banks
- Tracks
- Trampled vegetation
- Narrow access points
- Game trails leading toward water
- Shaded approaches
Place the camera where you can capture both the approach and the animal's movement around the water.
Also pay attention to reflections. Directly facing bright water can create difficult lighting conditions and reduce image quality.

4. Use Food Sources and Field Edges
Food is another major factor when deciding where to place a trail camera.
Depending on the season and location, wildlife may concentrate around:
- Food plots
- Agricultural fields
- Acorn-producing trees
- Berry bushes
- Fruit trees
- Native vegetation
- Crop edges
For deer, don't always put your camera in the middle of the feeding area.
A better strategy is often to monitor the entrance trail or edge where animals transition between cover and food.
This can reveal when animals arrive, where they come from, and which route they use after feeding.
For wildlife photography, field edges can also create better backgrounds and more open detection zones than dense vegetation.
5. Consider Bedding Areas—but Minimize Disturbance
Bedding areas can provide valuable information about animal movement, but they require a more careful approach.
Deer and other wildlife often choose quiet, dense cover for resting. If you repeatedly walk into these areas to check a traditional trail camera, you may disturb the animals you're trying to photograph.
This is where a cellular trail camera can be especially useful.
Instead of physically entering the area every few days to check an SD card, a cellular game camera can send images or alerts remotely, depending on the model and network connection.
For sensitive locations, the goal should not be to visit the camera as often as possible.
The goal is to gather useful information while keeping your presence as low as possible.
6. Mount the Camera at the Right Height
One of the most common trail camera placement mistakes is mounting the camera too high or too low.
For deer and similarly sized animals, a starting point of approximately 3–4 feet above the ground is commonly recommended.
This places the camera around the animal's body level and can produce a useful full-body perspective.
However, there is no universal height for every species.
For smaller wildlife such as:
- Foxes
- Raccoons
- Rabbits
- Turkeys
you may want to position the camera lower.
For larger animals, a slightly higher position may work better.
The most important thing is to consider the size of your target animal and the terrain immediately in front of the camera.

7. Angle the Camera Slightly Down the Trail
Camera angle can make a huge difference.
If you point your trail camera directly across a trail, an animal may cross the frame extremely quickly.
Instead, try positioning the camera at an angle to the trail so the animal moves through the detection zone.
This creates a longer viewing window and gives the camera more opportunities to capture the animal.
A slight downward angle can also help keep the animal's entire body inside the frame.
Before leaving, walk through the expected detection area yourself and check the composition.
Ask:
Will the animal's head, body, and legs all be visible?
If the answer is no, adjust the camera before you leave.
8. Avoid Direct Sunrise and Sunset
Lighting is one of the biggest challenges in outdoor photography.
If your trail camera faces directly toward the rising or setting sun, you may experience:
- Glare
- Washed-out images
- Strong shadows
- Reduced detail
- False triggers caused by rapidly changing light
Whenever possible, avoid pointing the lens directly into the sun.
A north- or south-facing setup can often help reduce direct sunrise and sunset glare, although the best direction ultimately depends on the terrain, season, and exact location.
The most important rule is simple:
Check where the sun will be when your target animals are most active.
If deer usually pass through your camera location around sunrise, don't automatically choose an east-facing position.
9. Clear the Detection Zone
You found the perfect deer trail. You mounted the camera at the right height. Then you come back two weeks later and discover hundreds of photos of moving leaves.
This is one of the most frustrating trail camera problems—and one of the easiest to prevent.
Before leaving, inspect the area directly in front of the camera.
Remove or reposition obvious obstructions such as:
- Tall grass
- Small branches
- Low-hanging leaves
- Loose vegetation
- Bushes that move in the wind
Moving vegetation can trigger motion sensors and fill your memory card with useless images.
It can also consume battery power unnecessarily.
A clean detection zone helps your camera focus on what actually matters: wildlife.
10. Test the Camera Before You Leave
Never assume your setup is correct just because the camera turns on.
Perform a quick trail camera setup test before leaving the property.
Walk through the expected animal path and check:
- Does the camera detect movement?
- Is the entire animal likely to fit inside the frame?
- Is the camera pointing in the right direction?
- Are branches or grass blocking the lens?
- Is the lighting acceptable?
- Is the camera securely mounted?
- Does the cellular or Wi-Fi connection work if applicable?
If your camera has an app or remote monitoring capability, confirm that you can actually receive images or alerts before you leave.
A five-minute test can save you from discovering weeks later that the camera was pointed too high, facing the sun, or missing the trail entirely.
Best Trail Camera Placement by Target
Not every animal requires the same setup.
| Target | Good Location | Suggested Height |
|---|---|---|
| Deer | Game trails, funnels, food edges, water | About 3–4 ft |
| Fox | Trails, field edges, creek crossings | About 2–3 ft |
| Raccoon | Water, creek crossings, wooded trails | About 1–3 ft |
| Turkey | Open trails, field edges, feeding areas | About 2–3 ft |
| Small mammals | Low trails, logs, feeding areas | Lower position |
These are starting points rather than strict rules. Terrain, animal behavior, and the camera's field of view should always influence your final setup.
How to Get Better Wildlife Photos From a Trail Camera
Good placement is only part of the equation.
For better wildlife photography, combine strategic positioning with appropriate camera settings.
Choose the highest useful image resolution
High-resolution photos provide more detail when identifying deer, antlers, facial markings, or smaller animals.
Use a fast trigger speed
Fast-moving animals can cross a detection zone quickly. A responsive trail camera can improve the chance of getting the animal inside the frame.
Keep sensitivity appropriate
Higher sensitivity isn't always better.
If the camera is surrounded by moving vegetation, excessive sensitivity can create unnecessary triggers.
Use burst photos when appropriate
Multiple photos can provide several frames of the same animal, increasing your chances of getting one sharp image.
Consider night vision
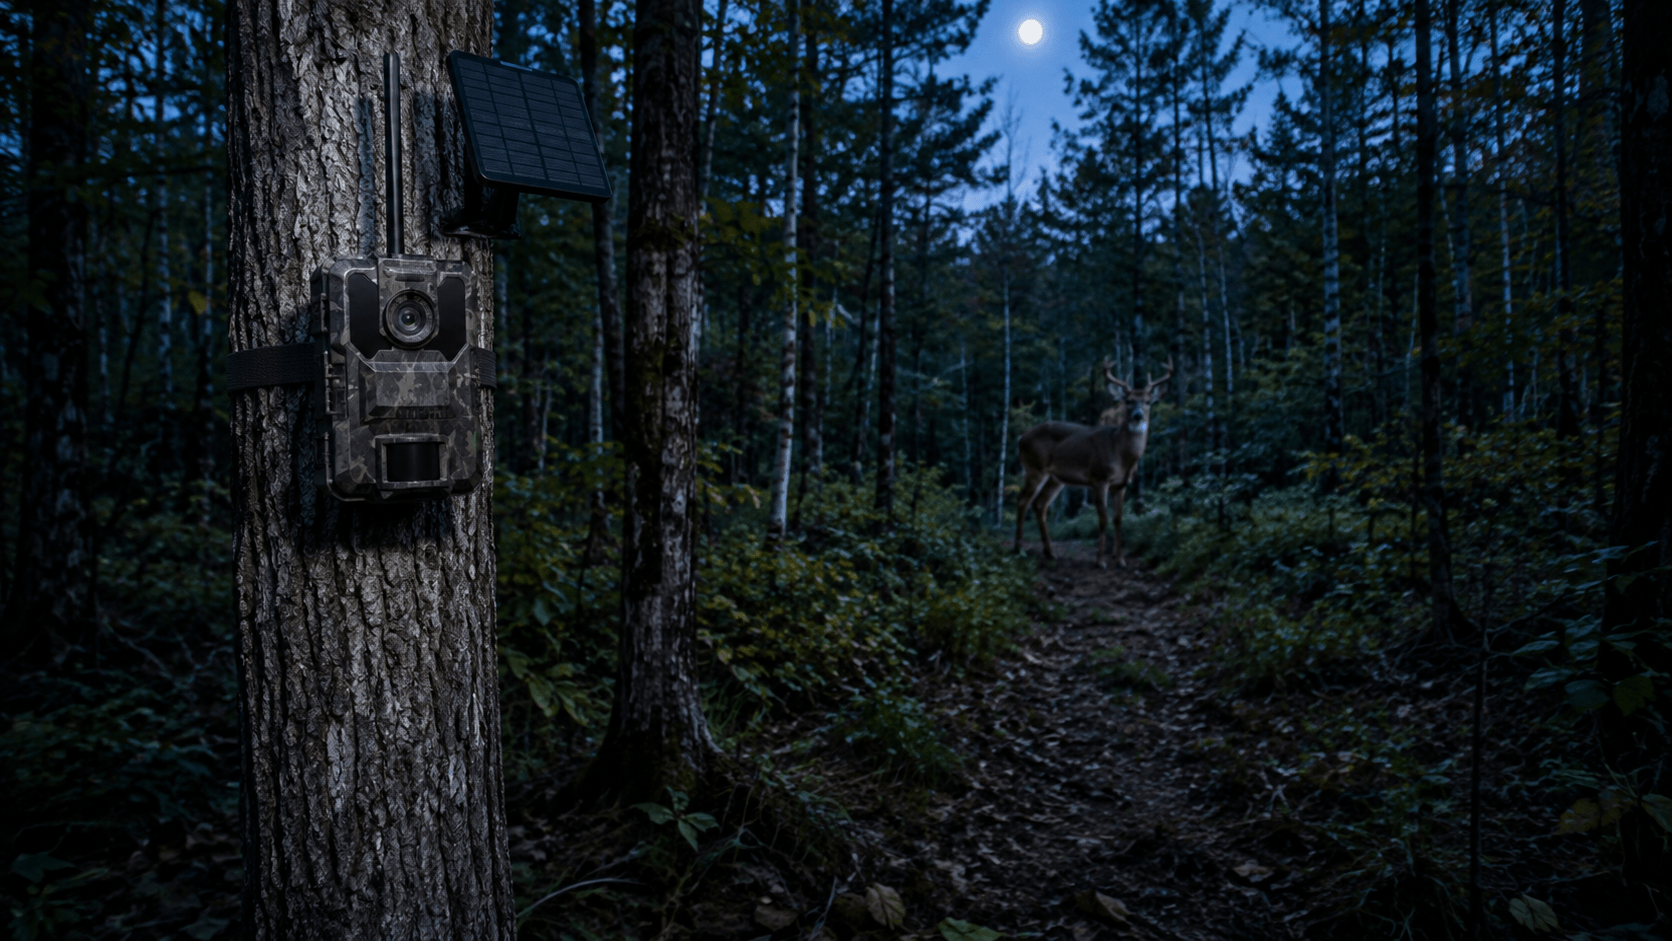
Many animals are most active after dark. Infrared or low-light technology is therefore an important consideration when choosing a night vision trail camera.

Cellular vs. Wi-Fi Trail Cameras for Remote Wildlife Monitoring
Your ideal camera placement may be far away from your home, making connectivity an important consideration.
A Wi-Fi trail camera can be convenient when you're close enough to connect directly to the camera. For example, the Voopeak TC22 uses a built-in Wi-Fi hotspot that allows a smartphone to connect directly within approximately 10 meters (30 feet), rather than relying on your home Wi-Fi network.
For cameras installed deeper in the woods, a cellular trail camera can be more convenient because images and alerts can be accessed remotely, depending on cellular coverage and the camera's service plan.
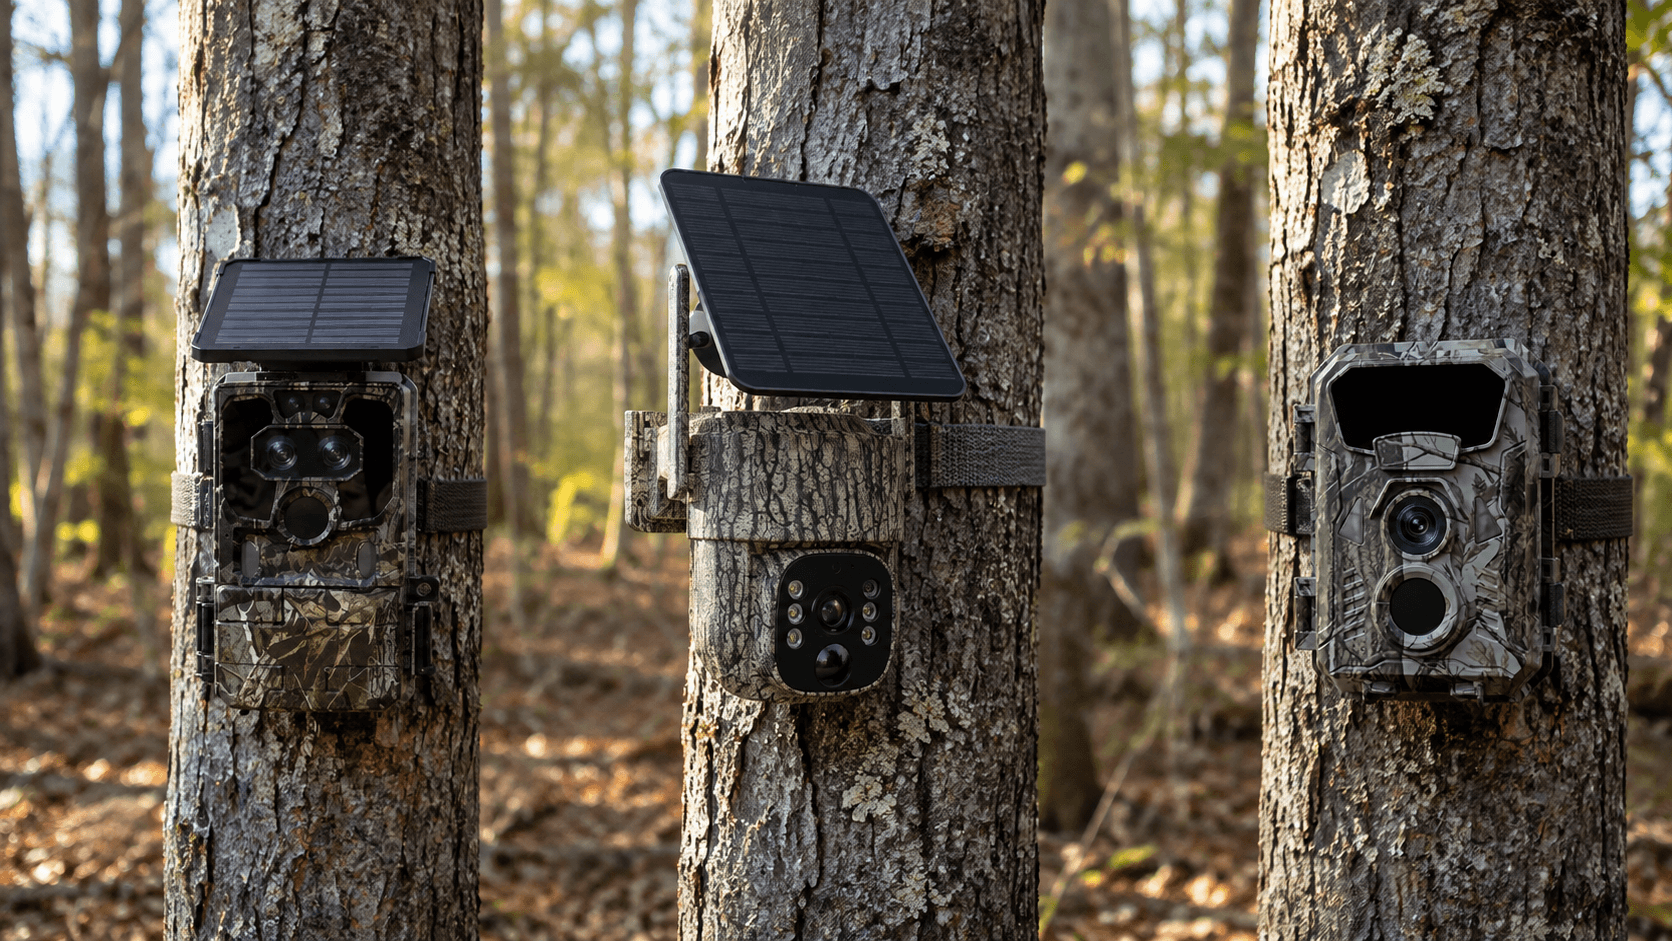
Voopeak's cellular trail camera lineup includes models such as the TC27 and TC32, designed for remote wildlife monitoring and hunting applications.
If your camera is located somewhere you don't want to visit frequently, remote monitoring can also help reduce unnecessary human disturbance.
Which Voopeak Trail Camera Is Best for Wildlife Photography?
Choosing the right Voopeak camera depends on your location and monitoring goals.
For users who want high-resolution wildlife photos and easy local phone access, the Voopeak TC22 is a strong option. It combines 4K video, high-resolution photography, dual-lens imaging, solar power, and built-in Wi-Fi connectivity.
For remote properties where you want cellular connectivity and remote monitoring, the Voopeak TC27 or TC32 can be better suited to the job. The TC32, for example, combines 4G connectivity, solar power, motion tracking, and remote viewing capabilities.
The most important point is that even a feature-rich trail camera needs the right location to perform well.
Quick Trail Camera Placement Checklist
Before leaving your camera in the field, ask:
- Is there clear evidence of wildlife activity?
- Is the camera aimed along or at an angle to the travel route?
- Is it approximately 3–4 feet high for deer?
- Is the camera protected from direct sunrise or sunset?
- Have I cleared moving vegetation?
- Is the detection zone large enough?
- Is the camera securely mounted?
- Have I tested the trigger?
- Is the image framing correct?
- If using cellular, is the connection working?
If you can answer yes to most of these questions, your setup is ready.
FAQ
Where is the best place to put a trail camera?
The best place is usually an area where wildlife naturally travels, such as an active game trail, funnel, creek crossing, food source entrance, water source, or field edge.
How high should a trail camera be mounted?
For deer and similarly sized wildlife, approximately 3–4 feet above the ground is a useful starting point. Smaller animals may require a lower position.
Should a trail camera face north or south?
North- or south-facing cameras can help reduce direct sunrise and sunset glare. However, terrain and animal movement should take priority over a fixed compass direction.
How far should a trail camera be from a deer trail?
There is no single distance that works everywhere. The camera should be far enough away to capture the animal's full body while remaining close enough for reliable detection and useful image detail.
What is the best trail camera placement for deer?
Start with active deer trails, funnels, creek crossings, food plot entrances, field edges, and water access points. Look for fresh tracks and other evidence before mounting the camera.
How do I get better pictures from my trail camera?
Focus on placement first, then optimize height, angle, lighting, detection sensitivity, trigger speed, image resolution, and night vision settings.
Final Thoughts
Learning where to place a trail camera is one of the most valuable skills for anyone interested in deer hunting, wildlife monitoring, or outdoor photography.
You don't necessarily need to put your camera in the most remote or scenic location.
You need to put it where wildlife naturally moves.
Start with game trails. Look for funnels, water, food, and cover. Mount the camera at an appropriate height, avoid direct sunlight, clear the detection zone, and always test your setup before leaving.
When smart trail camera placement is combined with high-resolution imaging, reliable motion detection, night vision, and remote monitoring, your camera becomes much more than a recording device—it becomes a window into wildlife behavior.
For more trail camera tips, explore Voopeak's guides on how trail cameras work, best trail camera settings, and how to set up a hunting camera.

Leave a comment
This site is protected by hCaptcha and the hCaptcha Privacy Policy and Terms of Service apply.