Deer hunting success often depends on one thing: information.
The more you know about deer movement patterns, feeding habits, bedding locations, and travel corridors, the greater your chances of harvesting a mature buck. That's why experienced hunters rely heavily on trail cameras.
However, even the best trail camera won't provide useful results if it's placed in the wrong location.
Proper trail camera placement can dramatically improve the quality of your scouting data, helping you identify deer patterns, estimate herd size, and pinpoint the best hunting locations.
In this guide, we'll cover the best trail camera placement tips for deer hunting success and explain how advanced Voopeak trail cameras can help hunters gather more accurate information throughout the season.
Why Trail Camera Placement Matters
Many hunters focus on buying high-resolution cameras with advanced features like:
- Cellular trail cameras
- Solar trail cameras
- Night vision trail cameras
- AI-powered wildlife cameras
- 4K trail cameras
While these features are valuable, placement remains the most important factor.
Poor camera placement can lead to:
- Missed deer activity
- Thousands of empty photos
- False triggers
- Blurry nighttime images
- Incorrect deer movement patterns
Strategic placement helps you:
✓ Identify mature bucks
✓ Monitor travel routes
✓ Track seasonal movement
✓ Reduce human disturbance
✓ Increase hunting opportunities
1. Place Cameras Along Deer Trails
One of the most productive locations is a well-established deer trail.
Deer are creatures of habit and often use the same travel routes repeatedly.
Look for:
- Hoof prints
- Trampled vegetation
- Mud crossings
- Narrow wooded corridors
- Fence crossings
These routes often connect bedding areas and feeding locations.
Pro Tip
Position the camera at a 45-degree angle to the trail rather than directly facing it.
This allows more time for the camera to detect movement and capture multiple images before the deer exits the frame.

2. Monitor Feeding Areas
Food sources attract deer year-round.
Common feeding locations include:
- Agricultural fields
- Food plots
- Oak flats
- Acorn-producing areas
- Soybean fields
- Corn fields
Place your trail camera on the edge of feeding zones rather than directly in the center.
This helps reduce disturbance while capturing deer entering and exiting the area.
Best times to monitor food sources:
- Early season
- Pre-rut
- Late season

3. Watch Deer Bedding Areas Carefully
Bedding areas are where mature bucks spend much of their daylight hours.
Signs include:
- Flattened vegetation
- Thick cover
- Elevated terrain
- Dense brush
Avoid entering these areas frequently.
Instead, place cameras on the perimeter.
This minimizes pressure while still capturing movement patterns.
Hunters who over-scout bedding areas often push mature deer onto neighboring properties.
4. Use Mock Scrapes During the Rut
One of the best trail camera strategies during rut season is creating a mock scrape.
A mock scrape attracts curious bucks and encourages repeated visits.
Benefits include:
- Daylight buck activity photos
- Better inventory of mature bucks
- Consistent camera traffic
Place the camera 10–15 feet away from the scrape.
Use video mode whenever possible.

5. Set the Correct Camera Height
One of the most overlooked factors is camera height.
General recommendations:
| Situation | Height |
|---|---|
| Deer Trails | 3-4 feet |
| Food Plots | 4-5 feet |
| Security Monitoring | 6-8 feet |
| Mature Buck Areas | 5-7 feet |
Higher placement can:
- Reduce theft
- Minimize deer detection
- Improve field of view
For mature bucks, many hunters angle cameras slightly downward from an elevated position.
6. Avoid Facing East or West
Direct sunlight can cause:
- Overexposed photos
- False triggers
- Washed-out images
The ideal direction is:
North or South Facing
This reduces sunrise and sunset glare.
You'll achieve:
- Better daytime photos
- More consistent image quality
- Improved detection accuracy

7. Use Cellular Trail Cameras for Low-Pressure Scouting
Frequent visits to check SD cards can alert deer to human activity.
Cellular trail cameras solve this problem.
Advantages include:
- Real-time image delivery
- Less human intrusion
- Remote monitoring
- Faster pattern recognition
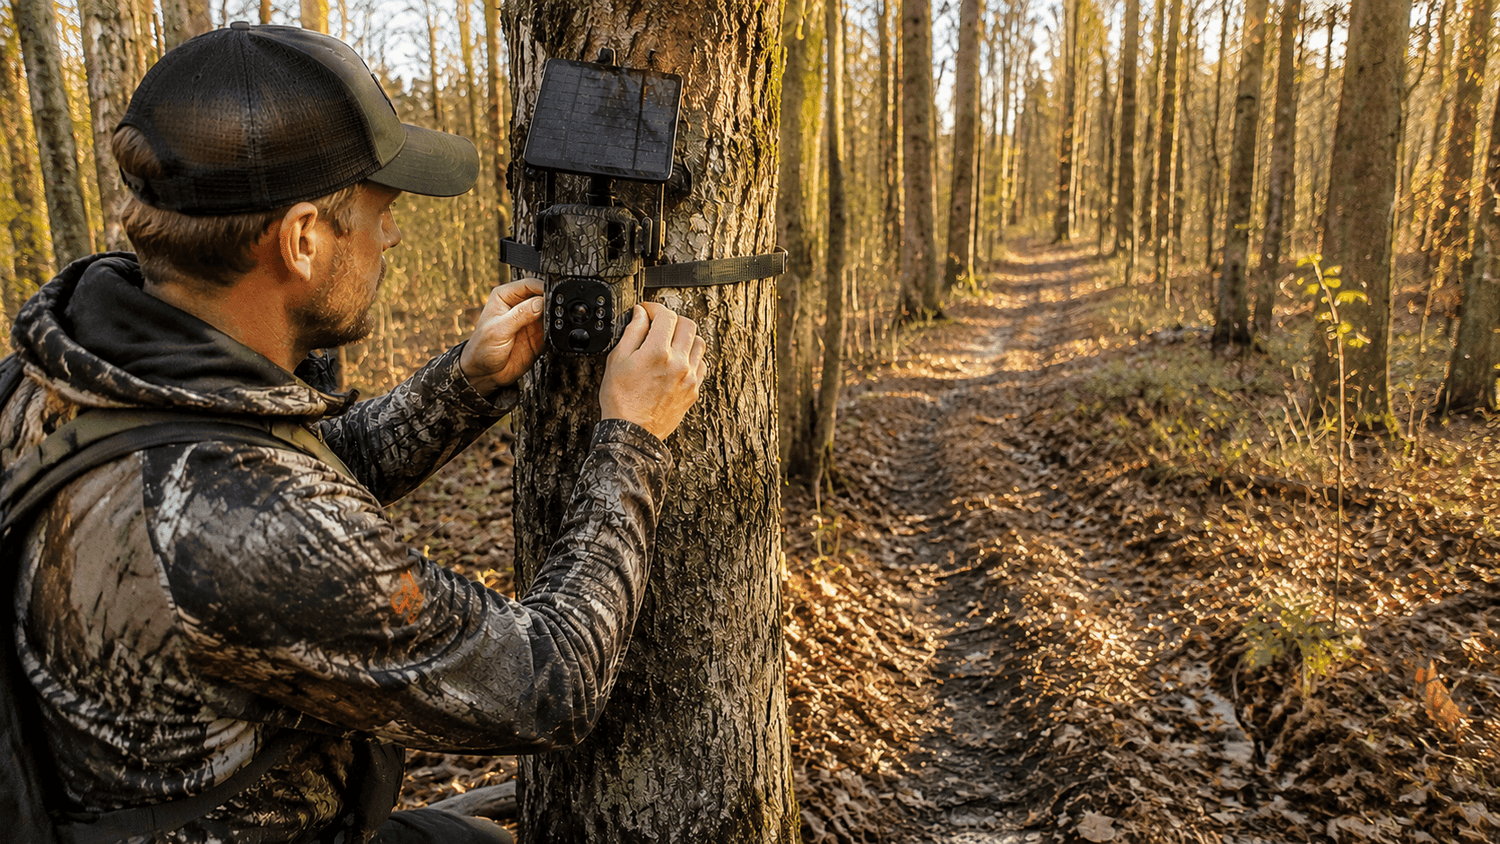
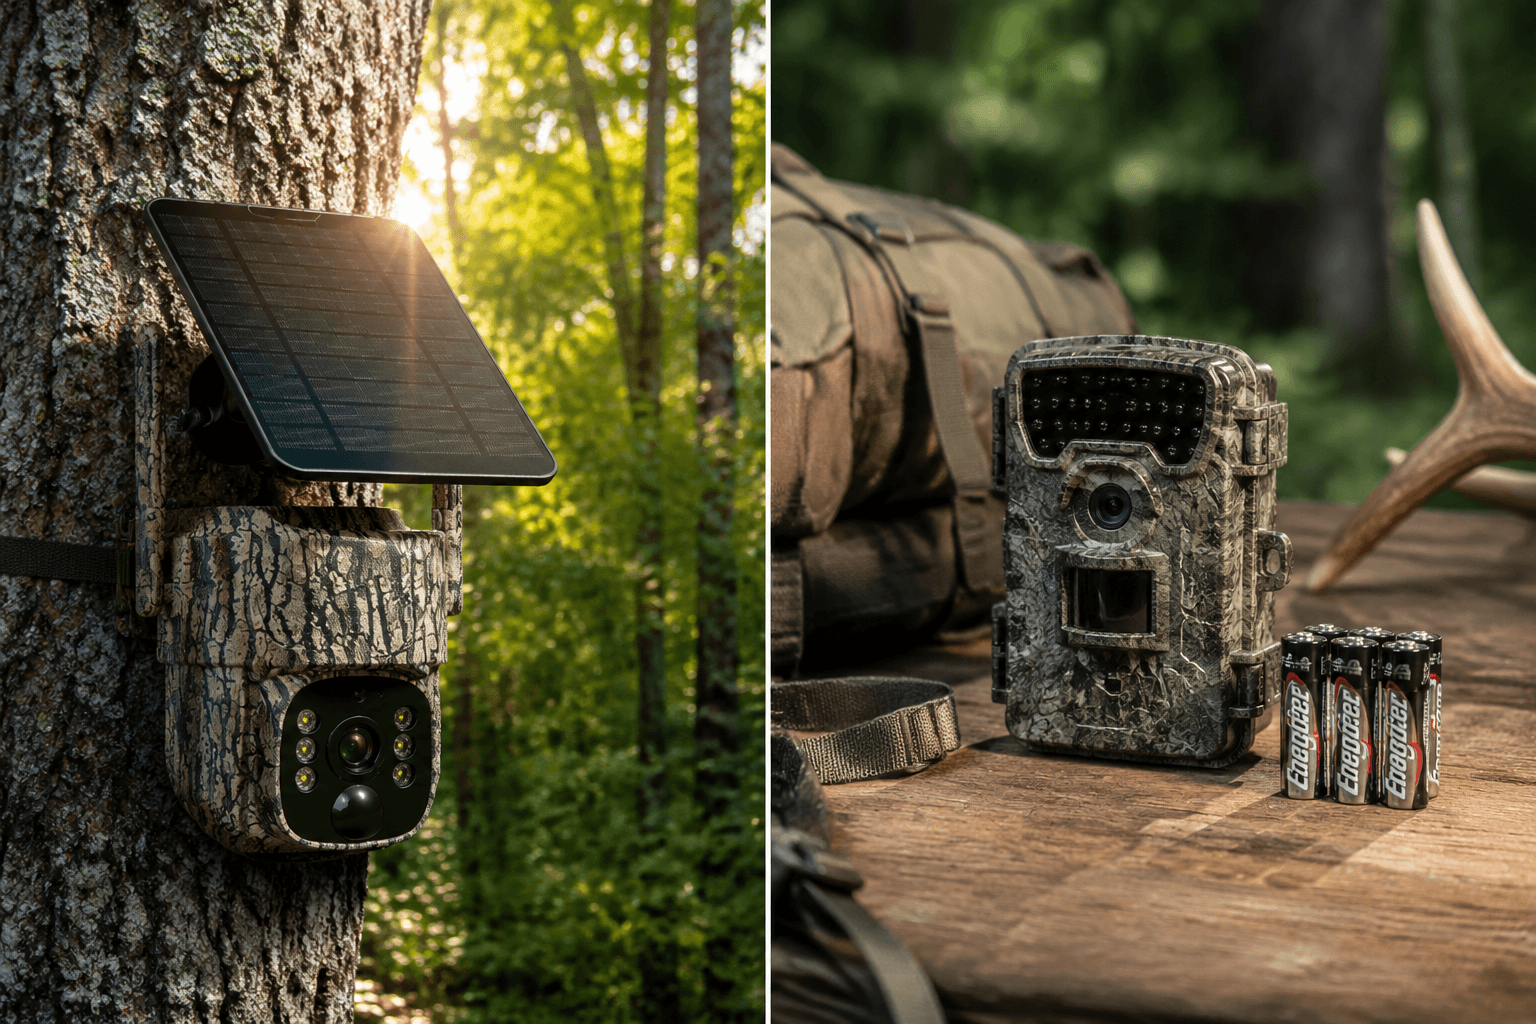
The Voopeak TC27 4G Solar Trail Camera is especially useful for remote hunting properties because it combines:
- 4G cellular connectivity
- Solar charging
- Live view capability
- 360° PTZ rotation
- Instant image transmission
This allows hunters to monitor deer activity without physically entering the property.
8. Deploy Multiple Cameras
A single camera only provides limited information.
Many successful hunters use:
- Trail cameras on travel corridors
- Cameras on food sources
- Cameras near bedding areas
- Cameras at scrape lines
Multiple cameras help build a complete picture of deer movement.
For larger properties, combining Voopeak TC22 WiFi Trail Cameras and TC27 Cellular Trail Cameras creates an effective scouting network.

Best Seasons for Trail Camera Placement
Spring
- Inventory surviving deer
- Locate bedding areas
Summer
- Pattern bachelor groups
- Monitor food sources
Fall
- Track rut activity
- Identify scrape lines
Winter
- Observe late-season feeding habits
- Locate winter travel routes
Keeping cameras active year-round provides valuable long-term scouting data.
Why Hunters Choose Voopeak Trail Cameras
Voopeak trail cameras are designed specifically for serious hunters who need reliable scouting information.
Popular features include:
- 4K Ultra HD video
- Up to 60MP image quality
- Blacklight night vision
- Cellular connectivity
- Solar-powered operation
- Live streaming capabilities
- Fast trigger speeds
- Wide detection range
Whether you're scouting public land or managing a private hunting property, Voopeak trail cameras help you collect the information needed to hunt smarter.
Frequently Asked Questions
Where is the best place to put a trail camera for deer?
The best locations include deer trails, food sources, scrape lines, travel corridors, and the edges of bedding areas. Position cameras where deer naturally travel rather than random locations.
How high should a trail camera be mounted?
Most deer hunting applications work best between 3 and 5 feet high. In high-pressure areas, mounting cameras 6 to 8 feet high can reduce deer detection and theft.
Should a trail camera face north or south?
Yes. Facing north or south minimizes direct sunlight exposure and helps produce clearer photos throughout the day.
How many trail cameras do I need for deer hunting?
Small properties may only need 2–3 cameras, while larger hunting properties often benefit from 5–10 strategically placed trail cameras.
Are cellular trail cameras worth it for deer hunting?
Absolutely. Cellular trail cameras reduce human disturbance by transmitting photos remotely, making them highly effective for scouting mature bucks.
Conclusion
The best trail camera placement strategy combines smart location selection, proper camera height, correct orientation, and minimal human intrusion.
By focusing on deer trails, feeding areas, bedding zones, and rut activity hotspots, hunters can gather the information needed to make informed hunting decisions.
Combined with advanced scouting tools like the Voopeak TC22 WiFi Trail Camera and TC32 4G Solar Trail Camera, proper placement can significantly improve your chances of locating and harvesting mature deer.
The key isn't just owning a great trail camera—it's putting it in the right place.

Hinterlasse einen Kommentar
Diese Website ist durch hCaptcha geschützt und es gelten die allgemeinen Geschäftsbedingungen und Datenschutzbestimmungen von hCaptcha.