
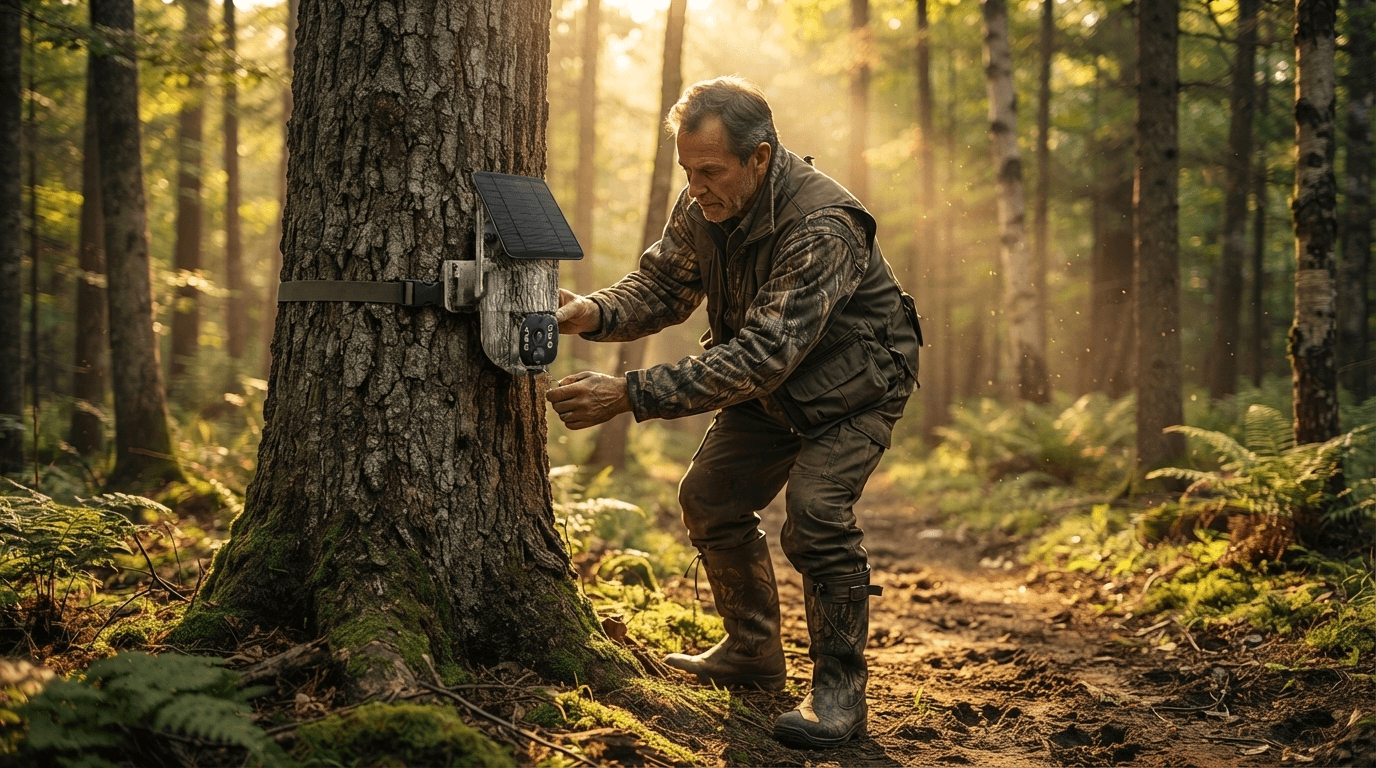
Egal, ob Sie vor der Jagdsaison auf Erkundung gehen oder einfach nur Wildtiere fotografieren, die richtige Wildkamera-Platzierung macht den entscheidenden Unterschied. Selbst die beste Wildkamera kann wichtige Momente verpassen, wenn sie am falschen Ort oder im falschen Winkel installiert wird.
Viele Jäger gehen davon aus, dass teure Ausrüstung bessere Ergebnisse garantiert. In Wirklichkeit hat das Verständnis, wo eine Wildkamera platziert werden sollte, wie hoch sie montiert werden sollte und in welche Richtung sie zeigen sollte, oft einen größeren Einfluss als die Kameraspezifikationen allein.
Dieser Leitfaden erklärt die besten Techniken zum Aufnehmen scharfer, gut gerahmter Hirschfotos und zeigt gleichzeitig, wie moderne Voopeak Wildkameras die Wildtierüberwachung vereinfachen.
Warum die Platzierung der Wildkamera wichtig ist
Eine Wildkamera nimmt nur das auf, was in ihren Erfassungsbereich gelangt. Eine falsche Positionierung kann zu Folgendem führen:
- Leere Fotos
- Fehlauslösungen
- Verschwommene Bilder
- Hirsche, die außerhalb des Bildes laufen
- Überbelichtete Sonnenauf- oder Sonnenuntergangsaufnahmen
Eine richtige Platzierung der Wildkamera erhöht:
- Die Genauigkeit der Bewegungserkennung
- Die Fotoqualität
- Die Batterieeffizienz
- Die Wildtierbegegnungen
- Die Analyse von Hirschmustern
Ob Sie eine WLAN-Wildkamera, eine Mobilfunk-Wildkamera oder eine Solar-Wildkamera verwenden, die Platzierung bleibt der Schlüssel zum Erfolg.
1. Kameras entlang natürlicher Hirschwechsel platzieren
Die besten Orte sind Stellen, an denen Hirsche jeden Tag natürlich unterwegs sind.
Suchen Sie nach:
- Gut genutzten Hirschwechseln
- Engpässen
- Zaunübertritten
- Bachübertritten
- Sattelbereichen
- Graten
Frische Hufabdrücke, Kot und abgenutzte Vegetation weisen auf eine konstante Bewegung hin.
Vermeiden Sie zufällige offene Felder, auf denen Hirsche nur gelegentlich auftauchen.

2. Futterplätze überwachen
Futter zieht Hirsche das ganze Jahr über an.
Hervorragende Orte sind:
- Eichenbäume während der Eichensaison
- Maisfelder
- Sojabohnenfelder
- Futterflächen
- Obstgartenränder
- Landwirtschaftliche Felder
Positionieren Sie Ihre Wildkamera 20–30 Fuß vom Futterplatz entfernt, um natürlich aussehende Bilder zu erhalten.
Vermeiden Sie es, die Kamera direkt auf die Futterquelle zu richten.
Stellen Sie sie stattdessen leicht schräg zur erwarteten Laufrichtung auf.
3. Einstände sorgfältig überwachen
Einstände liefern hervorragende Informationen zur Wildbeobachtung.
Vermeiden Sie jedoch, reife Hirsche zu stören.
Anstatt direkt in die Einstände zu gehen:
- Kameras an Zugangspfaden montieren
- Übergangszonen überwachen
- Windabwärts bleiben
- Besuche begrenzen
Weniger Störung bedeutet ein natürlicheres Hirschverhalten.
4. Schürfstellen und Fegestellen finden
Während der Brunft werden Schürfstellen zu Hotspots.
Böcke besuchen aktive Schürfstellen wiederholt.
Platzieren Sie Ihre Wildtierkamera:
- 15–25 Fuß entfernt
- Etwa auf Brusthöhe
- Leicht nach unten gerichtet
Fegestellen zeigen auch die Wanderrouten an.
Die Kombination aus Schürfstellenüberwachung und nahegelegenen Pfaden liefert oft hervorragende Hirschfotos.
5. Montieren Sie Ihre Kamera auf der richtigen Höhe
Eine der häufigsten Fragen ist:
Wie hoch sollte eine Wildkamera sein?
Für die meisten Situationen:
- 3–4 Fuß über dem Boden
- Linse auf Höhe der Brust eines Hirsches
- Leicht nach unten geneigt
In Bereichen mit Diebstahlrisiko:
- 8–10 Fuß hoch montieren
- Mit einer verstellbaren Halterung nach unten neigen
Eine höhere Platzierung reduziert auch die Wahrscheinlichkeit, dass das Wild die Kamera bemerkt.

6. Kamera schräg statt direkt auf den Pfad richten
Richten Sie Ihre Kamera niemals direkt über einen Pfad.
Stattdessen:
Positionieren Sie sie in einem Winkel von etwa 45 Grad.
Vorteile sind:
- Längere Erfassungszeit
- Bessere Rahmung
- Weniger Bewegungsunschärfe
- Mehrere Fotos von jedem Hirsch
- Verbesserte KI-Erkennung
Diese einfache Anpassung verbessert die Bildqualität dramatisch.
7. Wenn möglich, nach Norden ausrichten
Die Beleuchtung beeinflusst die Bildqualität erheblich.
Eine Ausrichtung nach Osten oder Westen führt oft zu:
- Heller Blendung
- Überbelichtung
- Silhouetten
Nach Norden ausgerichtete Kameras erhalten den ganzen Tag über eine gleichmäßigere Beleuchtung.
Dies führt zu klareren Tagesaufnahmen.
8. Vegetation aus dem Erfassungsbereich fernhalten
Äste, Gras und Unkraut können Tausende unnötiger Fotos auslösen.
Bevor Sie gehen:
- Hohes Gras entfernen
- Kleine Äste stutzen
- Ranken entfernen
- Blätter direkt vor dem Sensor entfernen
Das Freihalten des Erfassungsbereichs spart Batterielebensdauer und Speicherplatz.
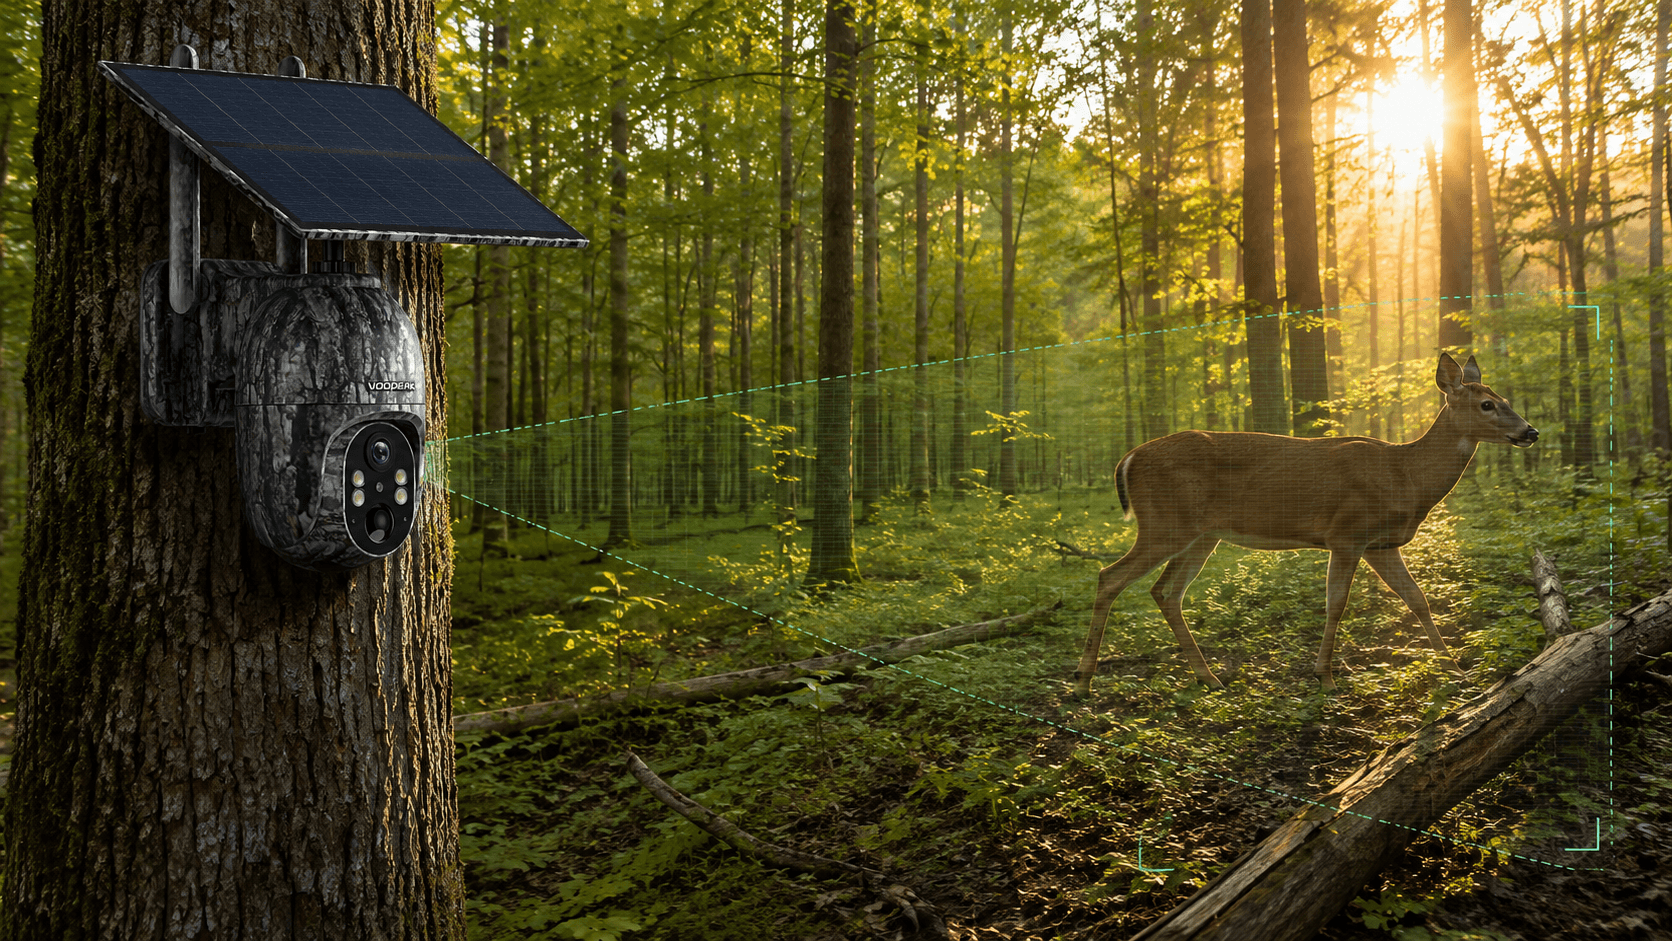
9. Erfassungsdistanz an die Kameraposition anpassen
Jede Jagdkamera hat eine Erfassungsreichweite.
Vermeiden Sie es, Kameras zu nah am Pfad zu platzieren.
Im Allgemeinen:
- Kleine Pfade: 15–20 Fuß
- Mittlere Pfade: 20–30 Fuß
- Offene Bereiche: 30–50 Fuß
Der richtige Abstand sorgt für Ganzkörperfotos von Hirschen statt für beschnittene Bilder.

10. Platzierung je nach Jahreszeit anpassen
Frühling
Futterquellen und grüne Vegetation überwachen.
Sommer
Mineralstellen und Wasserquellen beobachten.
Früher Herbst
Fokus auf Futterflächen und Wanderkorridore.
Brunft
Priorität auf Schürfstellen, Fegestellen und Engpässe legen.
Winter
Verbleibende Futterquellen und thermische Einstände überwachen.
Saisonale Anpassungen führen das ganze Jahr über zu konstanteren Ergebnissen.
Die richtige Wildkamera wählen
Selbst die perfekte Platzierung profitiert von fortschrittlicher Technologie.
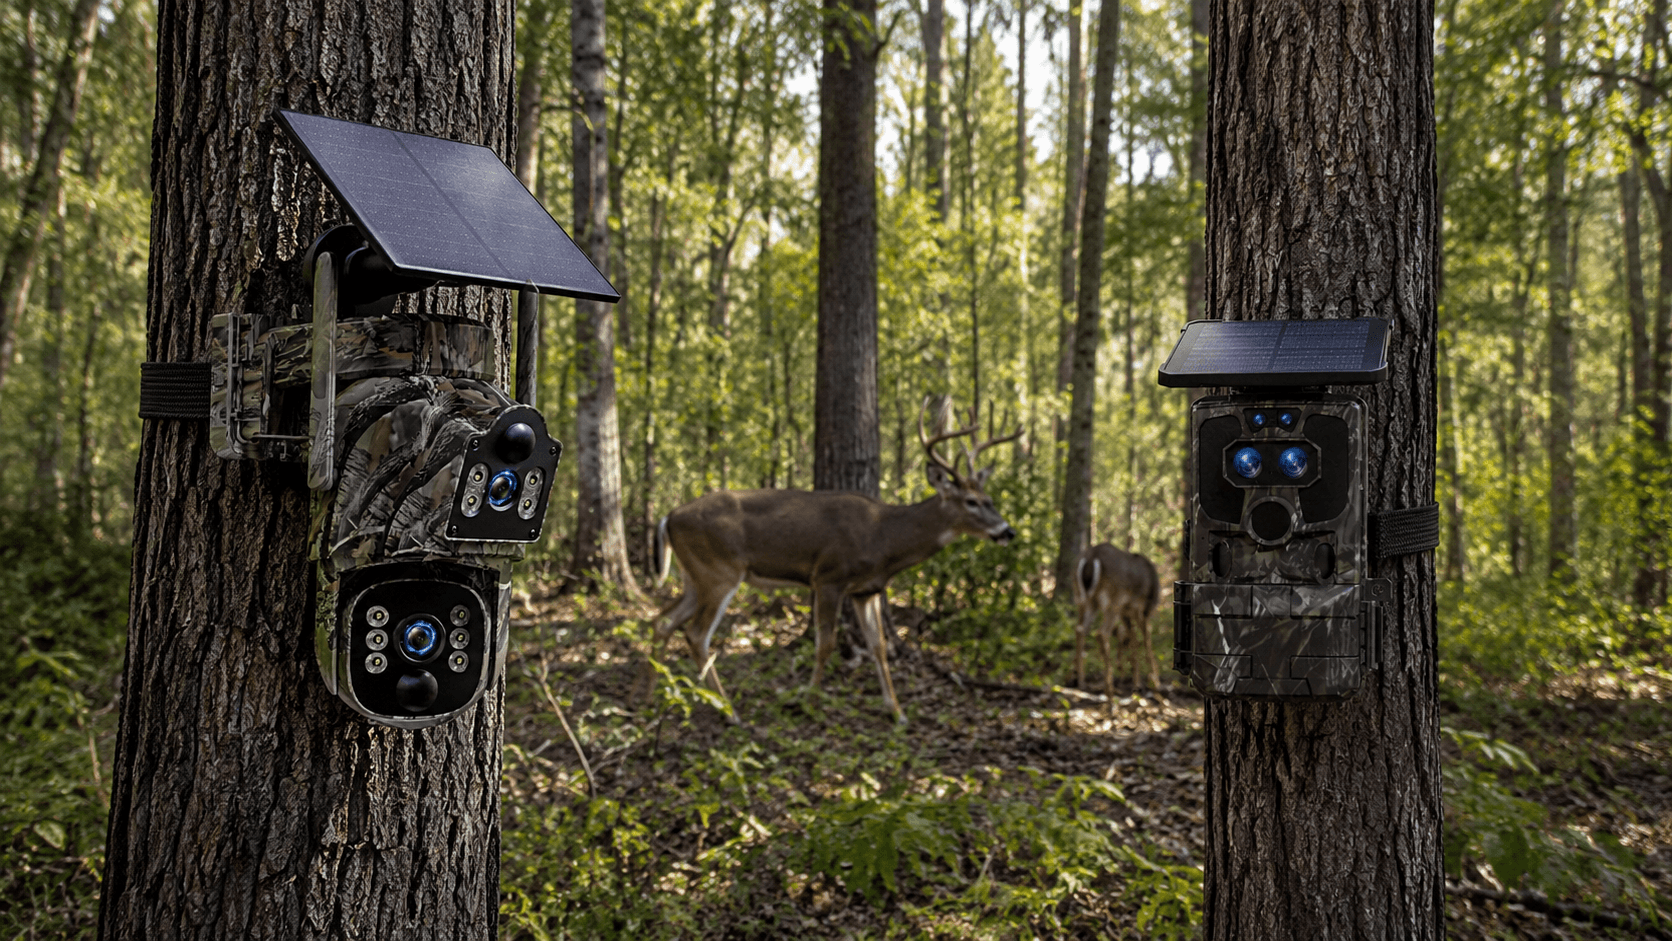
Moderne Voopeak Wildkameras kombinieren intelligente Funktionen mit zuverlässiger Leistung.
Je nach Ihren Bedürfnissen können Sie wählen:
- Mobilfunk-Wildkamera für sofortige drahtlose Bildübertragung
- WLAN-Wildkamera für schnelle lokale Downloads
- Solar-Wildkamera für langen Außeneinsatz
- No-Glow-Wildkamera für diskrete Wildtierbeobachtung
Diese Funktionen ermöglichen es Jägern, weniger Zeit mit dem Überprüfen der Kameras und mehr Zeit mit der Analyse der Hirschaktivitäten zu verbringen.

Häufige Fehler bei der Platzierung von Wildkameras
Vermeiden Sie diese häufigen Fehler:
- Kameras zu hoch oder zu tief montieren
- Auf Sonnenaufgang oder Sonnenuntergang ausgerichtet
- Windrichtung ignorieren
- Zu oft durch Einstände gehen
- Äste vor dem Sensor lassen
- Kameras direkt über Ködern platzieren
- Kameras zu nah an Pfaden aufstellen
- Kameras zu häufig überprüfen
Kleine Verbesserungen führen oft zu dramatisch besseren Ergebnissen.
Fazit
Zu lernen, wie man eine Wildkamera für bessere Hirschfotos platziert, ist eine der wertvollsten Fähigkeiten für Jäger und Wildtierliebhaber.
Indem Sie natürliche Wanderwege auswählen, die richtige Kamerahöhe einhalten, die Beleuchtung kontrollieren und Ihr Setup saisonal anpassen, werden Sie konsequent klarere Bilder aufnehmen und tiefere Einblicke in das Verhalten der Hirsche gewinnen.
Kombinieren Sie diese bewährten Platzierungstechniken mit einer zuverlässigen Voopeak Wildkamera, und Sie sind bereit, hochwertige Wildtierfotos zu sammeln, die eine bessere Wildbeobachtung und unvergessliche Outdoor-Erlebnisse unterstützen.
FAQ
Wo platziert man eine Wildkamera am besten für Hirsche?
Die besten Orte sind Hirschwechsel, Futterplätze, Engpässe, Schürfstellen, Einstandsübergänge und Wasserstellen, wo Hirsche natürlich unterwegs sind.
Wie hoch sollte eine Wildkamera montiert werden?
Die meisten Jäger erzielen die besten Ergebnisse, indem sie eine Wildkamera etwa 3–4 Fuß über dem Boden mit einer leichten Neigung nach unten montieren.
Sollte eine Wildkamera nach Norden ausgerichtet sein?
Ja. Die Ausrichtung nach Norden hilft, Blendungen durch Sonnenauf- und -untergang zu reduzieren, was zu klareren Tagesaufnahmen führt.
Wie weit sollte eine Wildkamera von einem Hirschwechsel entfernt sein?
Positionieren Sie die Kamera im Allgemeinen 4,5 bis 9 Meter vom Weg entfernt, je nach Vegetation und Erfassungsreichweite der Kamera.
Sind Mobilfunk-Wildkameras besser für die Hirschbeobachtung?
Mobilfunk-Wildkameras ermöglichen es Jägern, Fotos aus der Ferne zu empfangen, ohne den Bereich zu stören, was sie hervorragend für die langfristige Hirschbeobachtung macht.

Hinterlasse einen Kommentar
Diese Website ist durch hCaptcha geschützt und es gelten die allgemeinen Geschäftsbedingungen und Datenschutzbestimmungen von hCaptcha.