Whether you are scouting deer movement before hunting season, monitoring wildlife activity on your property, or simply enjoying nature photography, setting up your hunting camera correctly can make the difference between capturing incredible wildlife moments and ending up with hundreds of empty images.
Many hunters buy a trail camera and simply strap it to the nearest tree. While that may work occasionally, strategic camera setup dramatically increases your success rate.
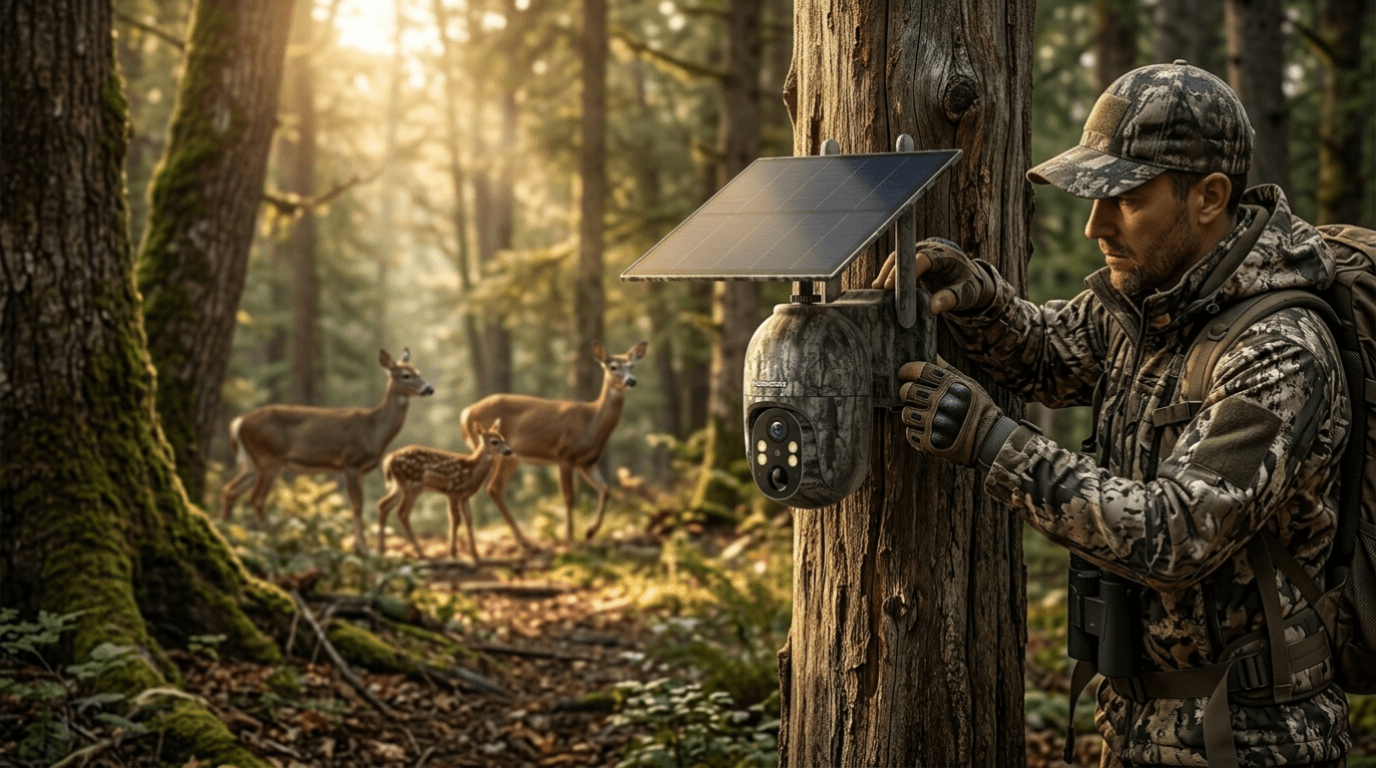
In this step-by-step guide, you'll learn how to position, configure, and optimize your hunting camera for the best wildlife shots. We'll also use the Voopeak TC27 as an example of how modern cellular trail cameras simplify wildlife tracking.
Why Proper Hunting Camera Setup Matters
A hunting camera does much more than take pictures.
When properly positioned, a trail camera can:
- Identify deer movement patterns
- Detect travel routes
- Monitor feeding locations
- Observe animal behavior
- Reduce unnecessary human activity in hunting areas
- Capture high-quality wildlife images
Poor setup can create problems such as:
- False triggers
- Empty photos
- Missed animal movement
- Overexposed images
- Limited coverage areas
Even the best trail camera cannot overcome poor placement.
Step 1: Choose the Right Wildlife Location
Finding the right location is the foundation of successful trail camera placement.
Wild animals naturally follow patterns and routes. Look for:
Trails
Animals often create visible paths through vegetation. These travel routes consistently generate activity.
Water Sources
Creeks, ponds, rivers, and water holes attract wildlife throughout the day.
Feeding Areas
Search for:
- Acorn zones
- Food plots
- Crop edges
- Natural vegetation
Bedding Areas
Animals often return to resting locations during daylight hours.
Instead of randomly selecting a tree, spend time observing signs such as:
- Tracks
- Droppings
- Scratches
- Rub marks
- Feeding evidence

Step 2: Position Camera Height Correctly
One of the most common mistakes is mounting cameras too high or too low.
Recommended height:
3–4 feet from the ground
This height aligns closely with the body area of deer and similar wildlife.
For larger animals:
- Raise slightly higher
For smaller animals:
- Lower slightly
Always angle the camera slightly downward.
Step 3: Avoid Direct Sunlight
Lighting dramatically affects image quality.
Direct sunlight can cause:
- Overexposure
- Glare
- False motion detection

Step 4: Clear Obstructions Around the Camera
Branches and tall grass can trigger unnecessary photos.
Remove:
- Leaves
- Hanging branches
- Tall grass
- Small bushes
Wind movement often causes false triggers.
Keeping a clean detection zone improves battery efficiency and storage capacity.
Step 5: Adjust Camera Settings
Modern hunting cameras offer multiple settings.
Optimize these settings:
Photo Resolution
Use higher resolution when identifying antlers or animal details.
Video Length
Recommended:
10–20 seconds
Motion Sensitivity
- High sensitivity: small animals
- Medium sensitivity: mixed environments
- Low sensitivity: windy areas
Capture Interval
5–30 seconds usually works well.
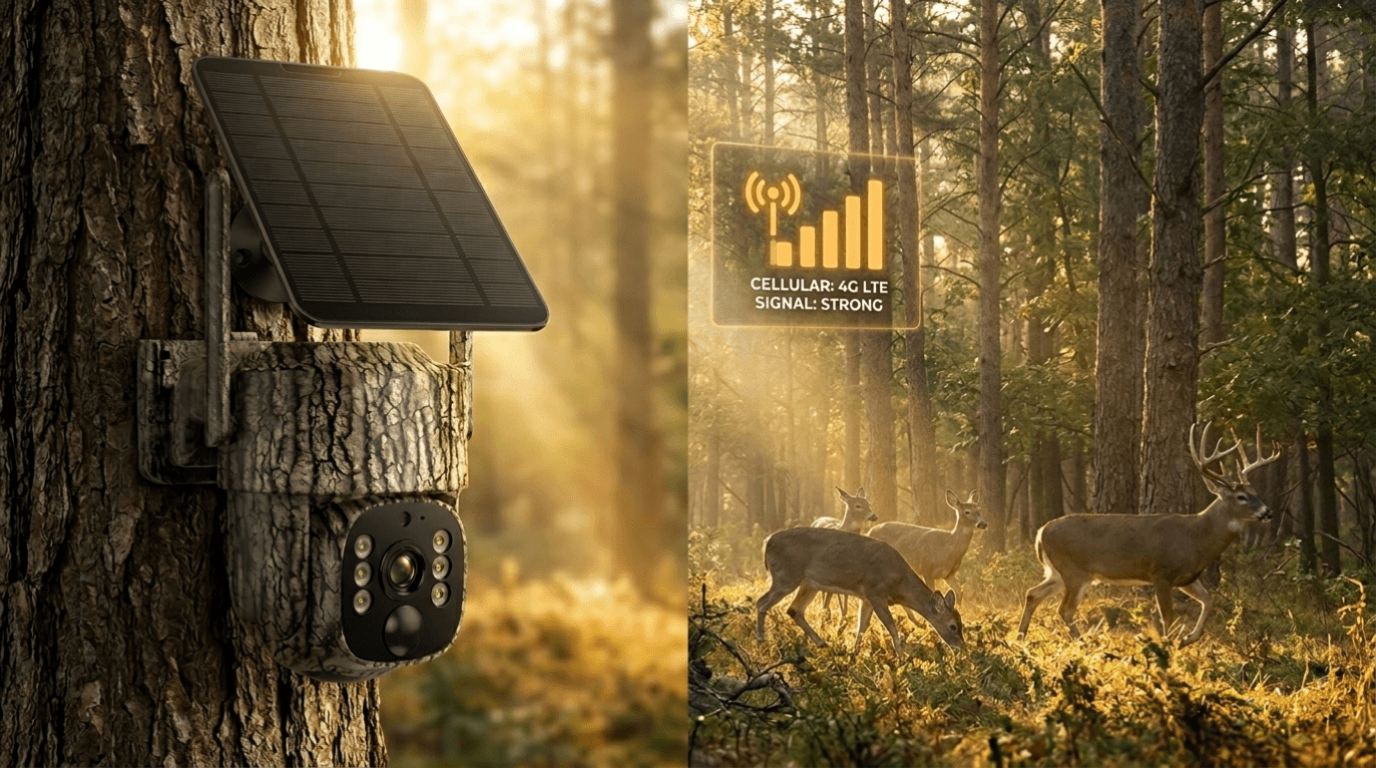
Step 6: Use Cellular Features for Better Monitoring
Traditional trail cameras require frequent SD card checks.
Cellular trail cameras reduce disturbance.
The Voopeak TC27 provides advantages such as:
- Real-time video delivery
- Remote monitoring
- Live View capability
- Solar-assisted power support
- Pan and Tilt movement control
- App-based management
Instead of walking through hunting areas repeatedly, users can check activity remotely and reduce scent contamination.
For deer hunters especially, minimizing human pressure can significantly improve results.

Step 7: Test Before Leaving
Before leaving the location:
Walk across the detection zone.
Check:
✓ Motion detection response
✓ Camera angle
✓ Image framing
✓ Visibility area
✓ Signal connection
A quick test can prevent weeks of missed opportunities.
Common Hunting Camera Mistakes
Avoid these common errors:
Placing cameras too close to trails
Animals may move too quickly through frame.
Checking cameras too frequently
Human scent affects animal movement.
Ignoring seasonal changes
Wildlife routes change with weather and food availability.
Using poor camera angles
Wide open areas often reduce effectiveness.
Final Thoughts
Learning how to set up a hunting camera correctly is one of the most important skills for hunters and wildlife enthusiasts.
Success rarely comes from luck.
The right placement, proper settings, and modern technology work together to create better results.
Advanced options like the Voopeak TC27 make wildlife monitoring easier by allowing users to check activity remotely while reducing disturbance in the field.
Whether you're preparing for hunting season or simply capturing amazing wildlife moments, following these steps can dramatically improve your results.
FAQ Section
Where is the best place to put a hunting camera?
The best locations include wildlife trails, water sources, feeding areas, and bedding zones where animals naturally travel.
How high should a trail camera be mounted?
Most hunting cameras perform best when mounted approximately 3–4 feet above the ground.
Should hunting cameras face north?
North-facing placement often reduces direct sunlight exposure and improves image quality.
Are cellular hunting cameras worth it?
Cellular cameras allow remote monitoring, reduce human disturbance, and provide real-time updates, making them valuable for many hunters.
Can trail cameras work without WiFi?
Yes. Many hunting cameras use SD cards or cellular networks and do not require WiFi.

Hinterlasse einen Kommentar
Diese Website ist durch hCaptcha geschützt und es gelten die allgemeinen Geschäftsbedingungen und Datenschutzbestimmungen von hCaptcha.