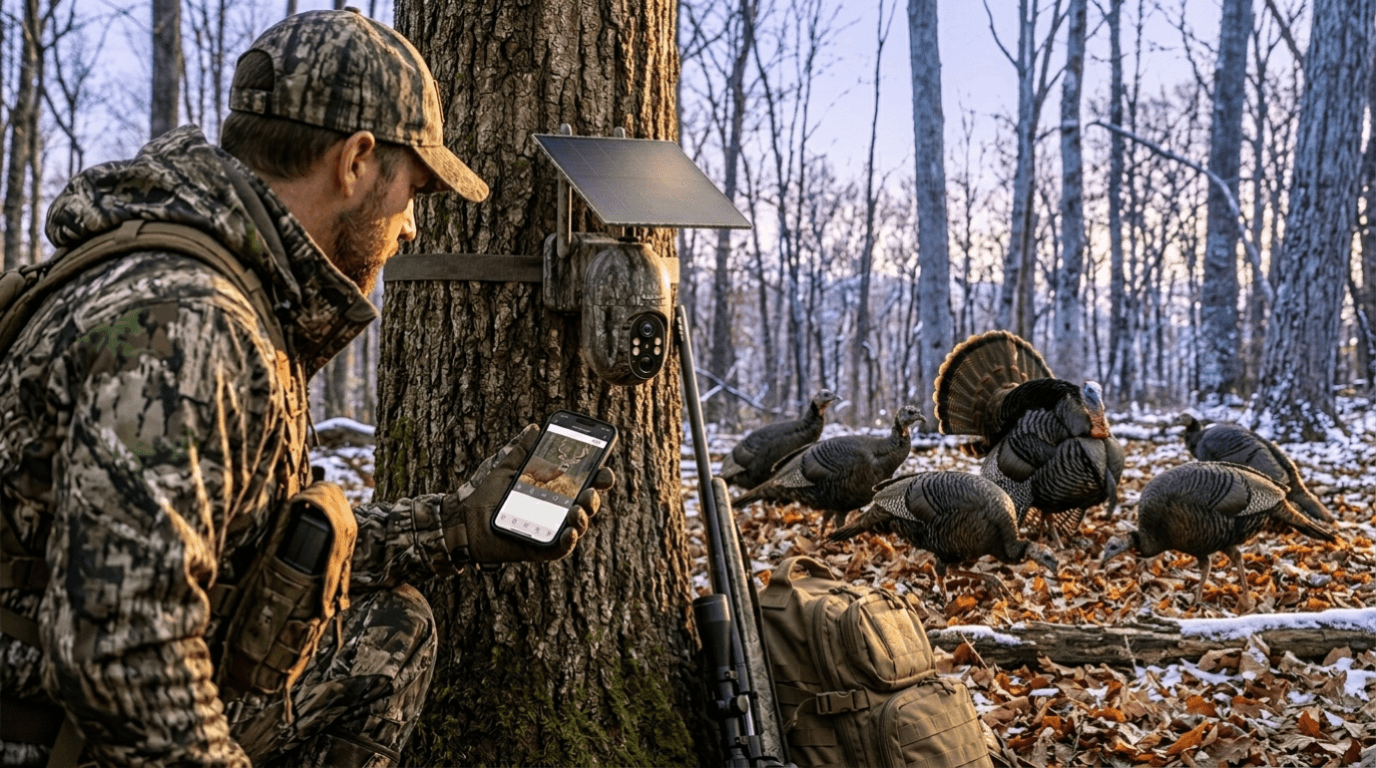
Trail cameras have completely changed the way hunters, wildlife enthusiasts, and landowners monitor animal activity. Modern trail cameras can capture high-resolution photos, night vision footage, and real-time wildlife behavior without disturbing natural environments.
However, even the best trail camera may fail to produce useful results if it is not used correctly.
Many users blame poor image quality or missed animal activity on the camera itself, when the real issue is often improper setup. Small mistakes in camera placement, settings, or installation can dramatically reduce performance.
In this guide, we'll cover the most common trail camera mistakes and explain exactly how to fix them to improve detection accuracy, image quality, and wildlife monitoring success.
Why Proper Trail Camera Setup Matters
A trail camera works as your eyes in the field.
When installed correctly, it helps:
- Track animal movement patterns
- Identify travel routes
- Improve hunting preparation
- Monitor property activity
- Capture unique wildlife moments
Poor setup creates:
- False triggers
- Empty photos
- Missed animals
- Battery drain
- Blurry images
Understanding common mistakes saves time and improves results.
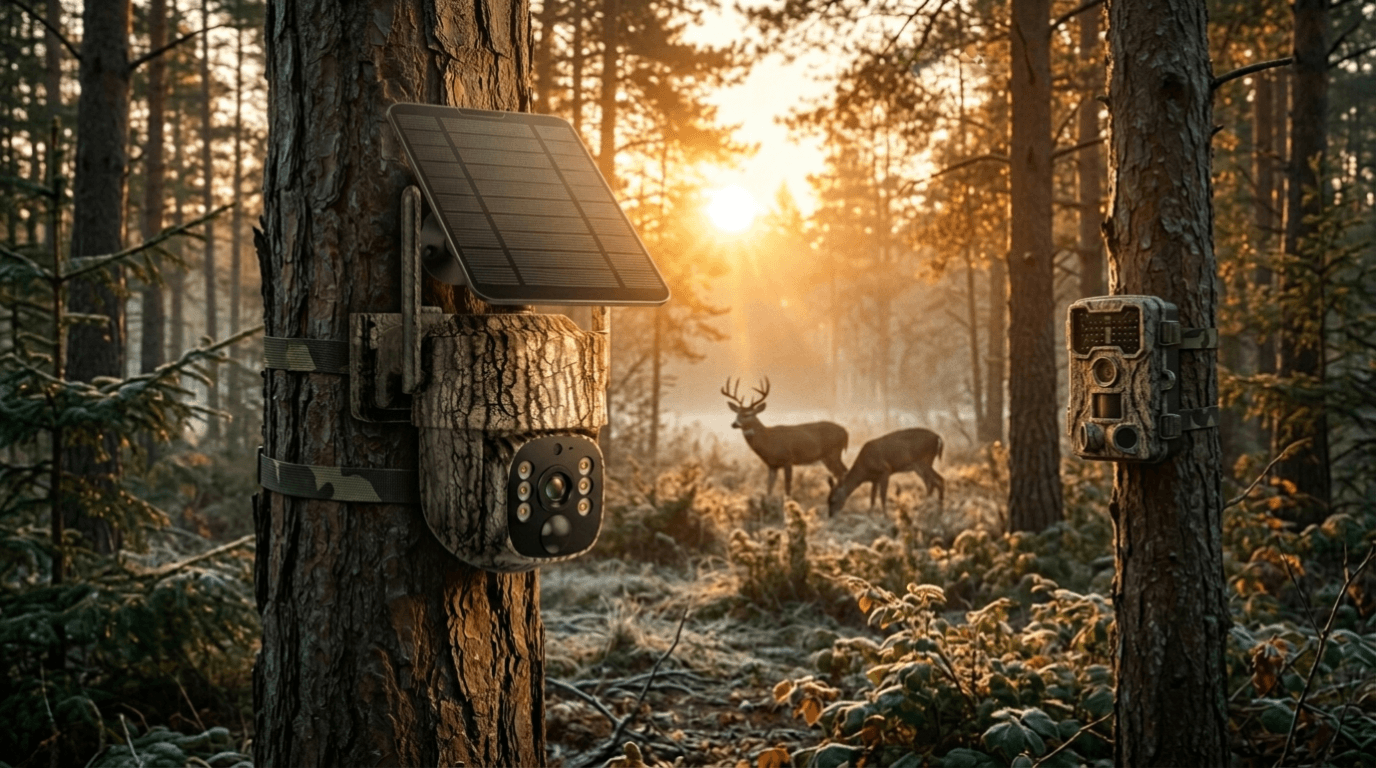
Mistake #1: Mounting Cameras Too High or Too Low
Incorrect camera height is one of the biggest problems among beginners.
A camera installed too high may completely miss smaller animals.
A camera installed too low can:
- Capture excessive grass movement
- Trigger false alerts
- Become easier to spot
The ideal mounting height depends on target animals.
Recommended heights:
For deer:
- Approximately waist height (3–4 feet)
For small animals:
- Slightly lower
For security or property monitoring:
- Around 6–8 feet

Mistake #2: Pointing Cameras Directly East or West
Many people overlook sunlight direction.
Placing cameras toward the rising or setting sun creates:
- Overexposed images
- Lens glare
- Poor night transition performance
Instead:
Position cameras facing:
- North
- South
This minimizes direct sunlight interference.

Mistake #3: Ignoring Animal Travel Routes
Many users randomly attach cameras to trees without understanding animal behavior.
Animals usually follow predictable paths such as:
- Trails
- Water sources
- Feeding areas
- Fence crossings
- Ridge lines
- Creek edges
Instead of guessing, spend time scouting before installation.
Look for:
- Tracks
- Droppings
- Bedding areas
- Trail intersections

Mistake #4: Leaving Vegetation in Front of the Camera
Moving grass, branches, and leaves can create hundreds of false triggers every day.
This causes:
- Rapid battery drain
- Full SD cards
- Missed wildlife activity
Before installation:
Clear:
- Tall grass
- Small branches
- Leaves
- Brush
Maintain a clear field of view.
Mistake #5: Using Incorrect Motion Sensitivity Settings
Motion sensitivity directly affects detection accuracy.
Too sensitive:
- Wind triggers recording
- Small animals activate recording
- Storage fills quickly
Too low:
- Animals may pass undetected
Recommended settings:
High sensitivity:
- Long-distance monitoring
Medium sensitivity:
- General wildlife tracking
Low sensitivity:
- Areas with heavy vegetation movement

Mistake #6: Forgetting Battery and SD Card Management
Many hunters discover problems only after returning weeks later.
Common issues include:
- Dead batteries
- Full memory cards
- Corrupted files
Best practices:
Carry:
- Extra batteries
- Spare SD cards
Check:
- Battery level
- Storage space
- Firmware updates
Modern Voopeak cameras simplify monitoring and reduce maintenance concerns.
For example, cameras like the Voopeak TC27 allow users to efficiently monitor wildlife with advanced night vision performance, reliable motion detection, and high-resolution image capture.
Mistake #7: Expecting Instant Results
Trail cameras collect data over time.
New users often become frustrated after only a few days.
Wildlife patterns vary depending on:
- Weather
- Food availability
- Hunting pressure
- Seasonal movement
- Habitat changes
Patience often leads to better scouting insights.
How Voopeak Trail Cameras Help Reduce These Problems
Modern trail cameras include technology that reduces common setup mistakes.
Voopeak trail cameras offer:
✓ High-resolution image capture
✓ Fast trigger speed
✓ Infrared night vision
✓ Wide detection range
✓ Motion detection optimization
✓ Easy setup
✓ Weather-resistant design
Whether monitoring deer movement, observing wildlife, or scouting hunting locations, using the right equipment together with proper setup dramatically improves results.
Final Thoughts
Trail cameras are powerful tools, but their effectiveness depends heavily on how they are used.
Most poor results come from simple setup errors rather than camera quality itself.
Avoiding mistakes such as:
- Incorrect camera height
- Poor sunlight positioning
- Ignoring animal movement
- Excessive vegetation
- Wrong sensitivity settings
- Battery management issues
can significantly improve your success rate.
With smart setup techniques and reliable equipment from Voopeak, you'll capture more wildlife activity and gain better field insights.

Hinterlasse einen Kommentar
Diese Website ist durch hCaptcha geschützt und es gelten die allgemeinen Geschäftsbedingungen und Datenschutzbestimmungen von hCaptcha.